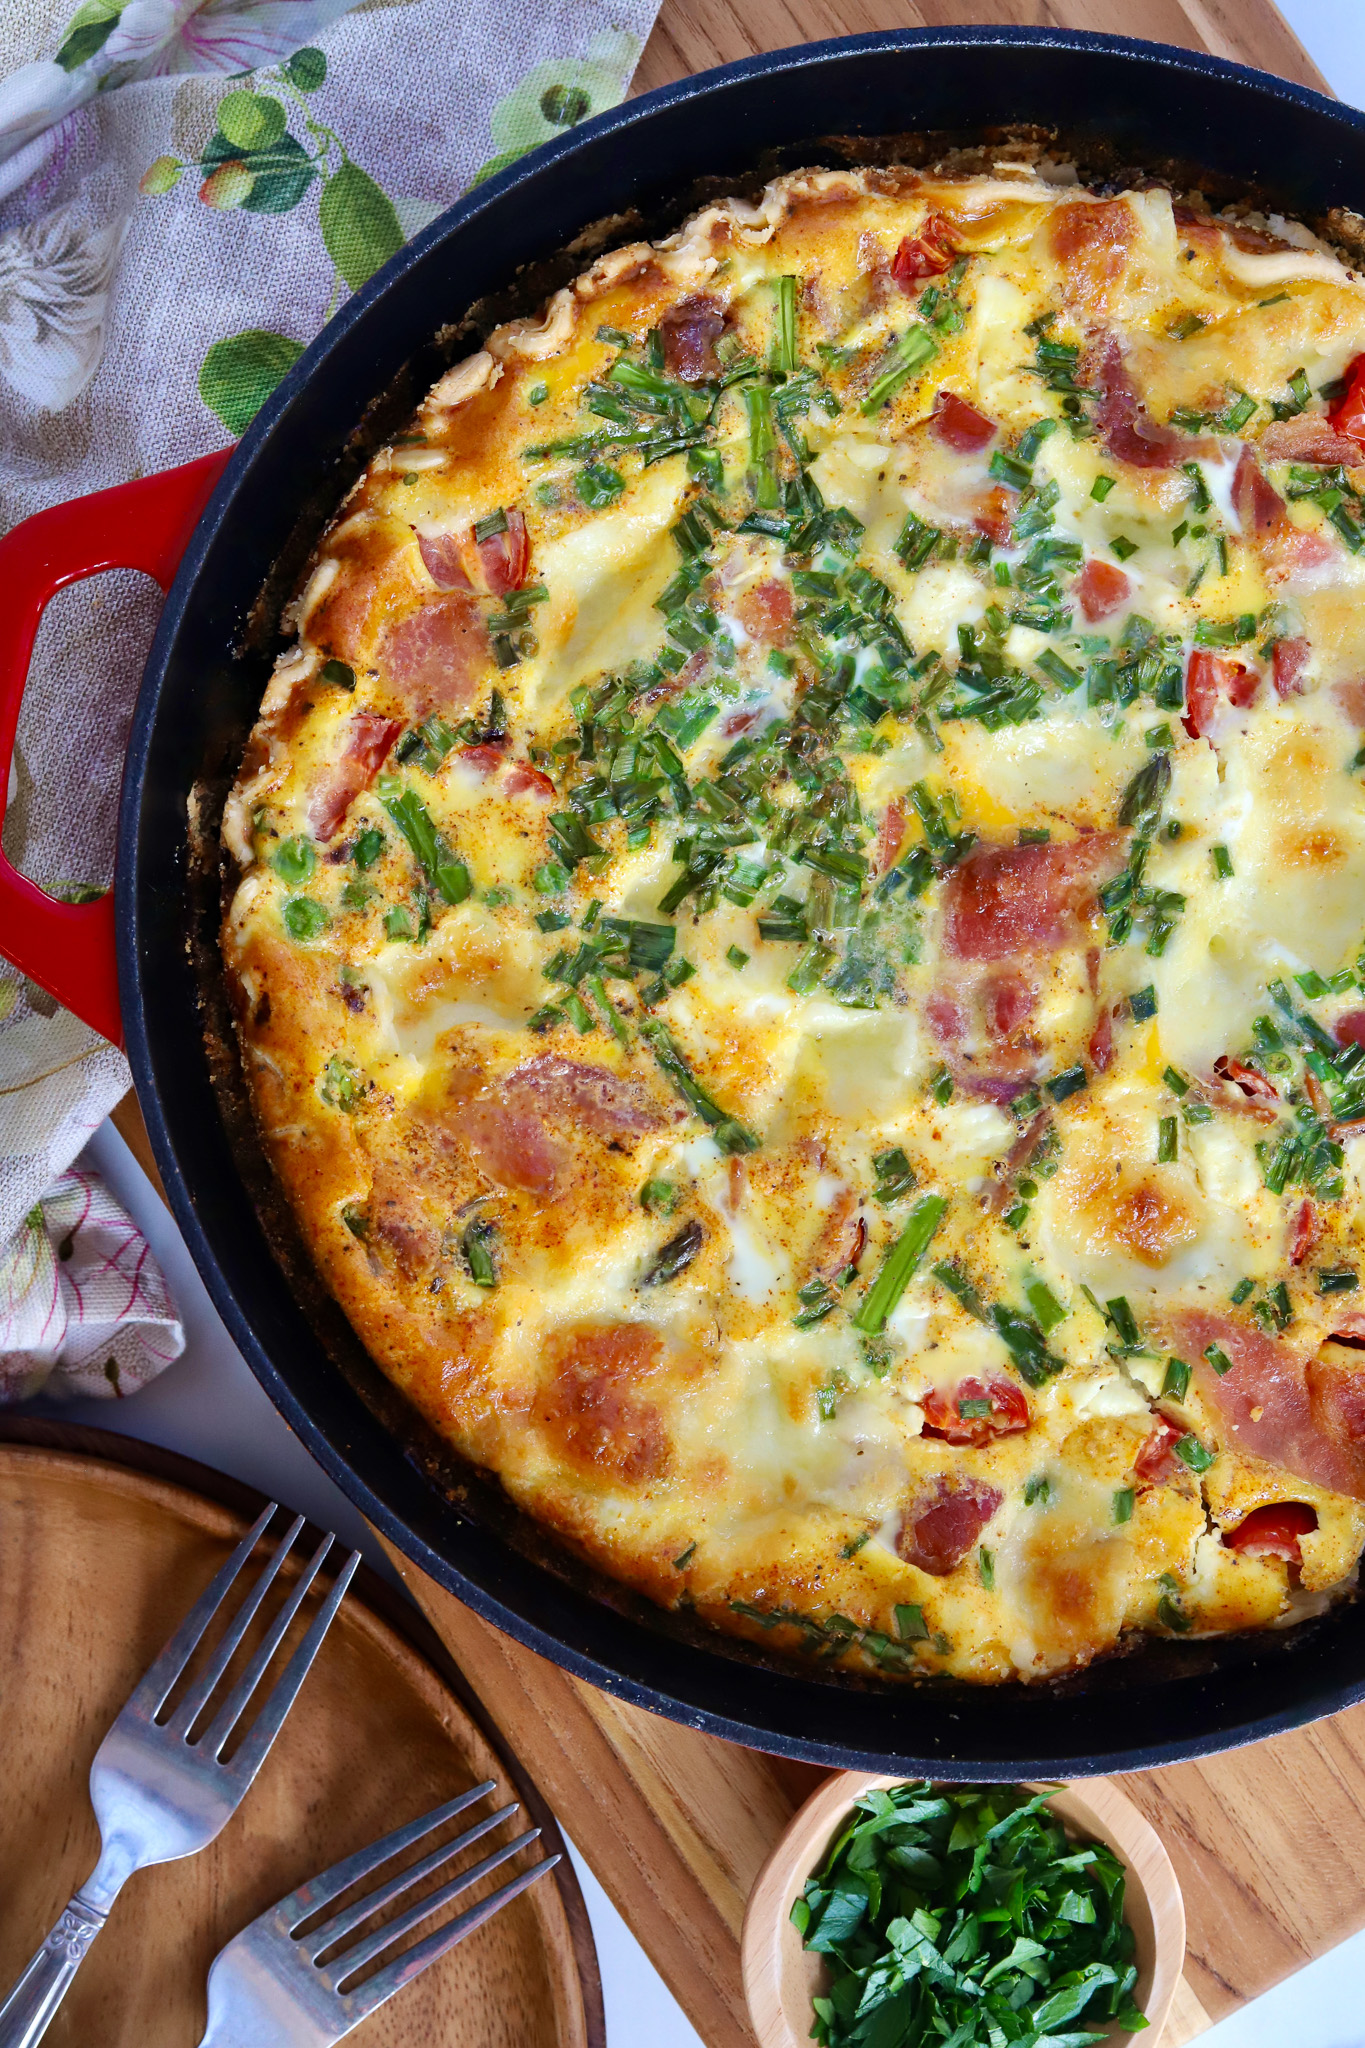
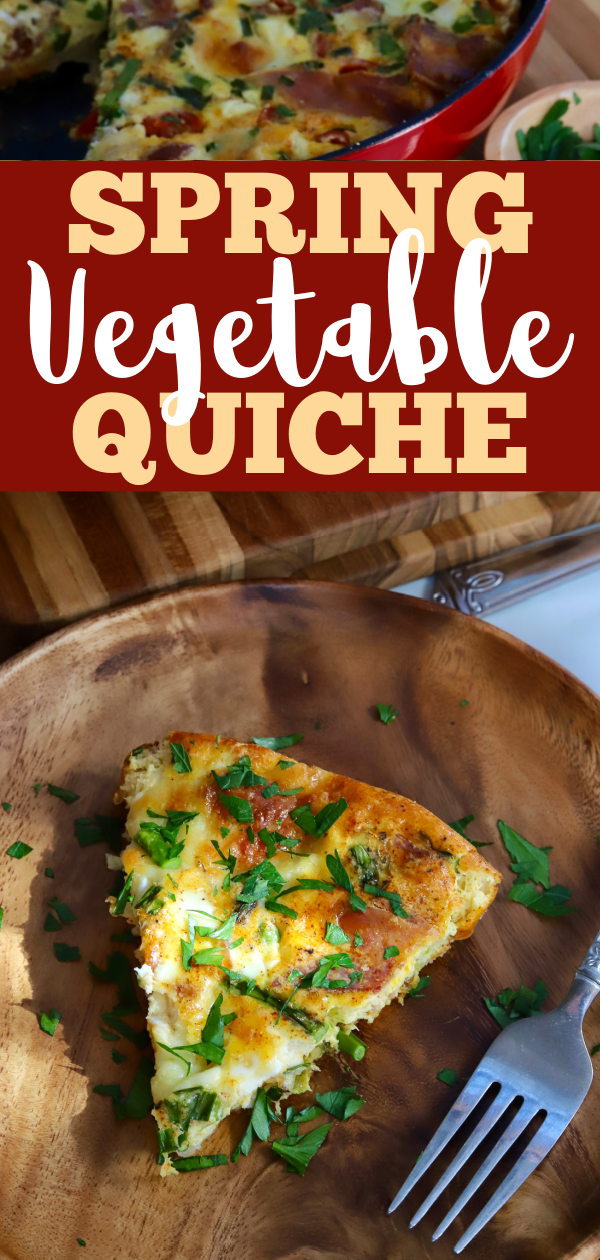
Spring is the best time of year to enjoy this vegetable quiche for breakfast, lunch, or dinner. Serve with fruit or salad and you’re all set!
Our family goes through a ton of eggs each week. We love them scrambled, fried, baked… you name it. If you’re an egg-lover like we are, make sure to check out this Eggs in Purgatory Skillet, these Miso-Spiked Deviled Eggs, and my Plantain Chilaquiles with Fried Eggs.
WATCH ME MAKE THIS ON THE GRAM!
INGREDIENTS FOR SPRING VEGETABLE QUICHE:
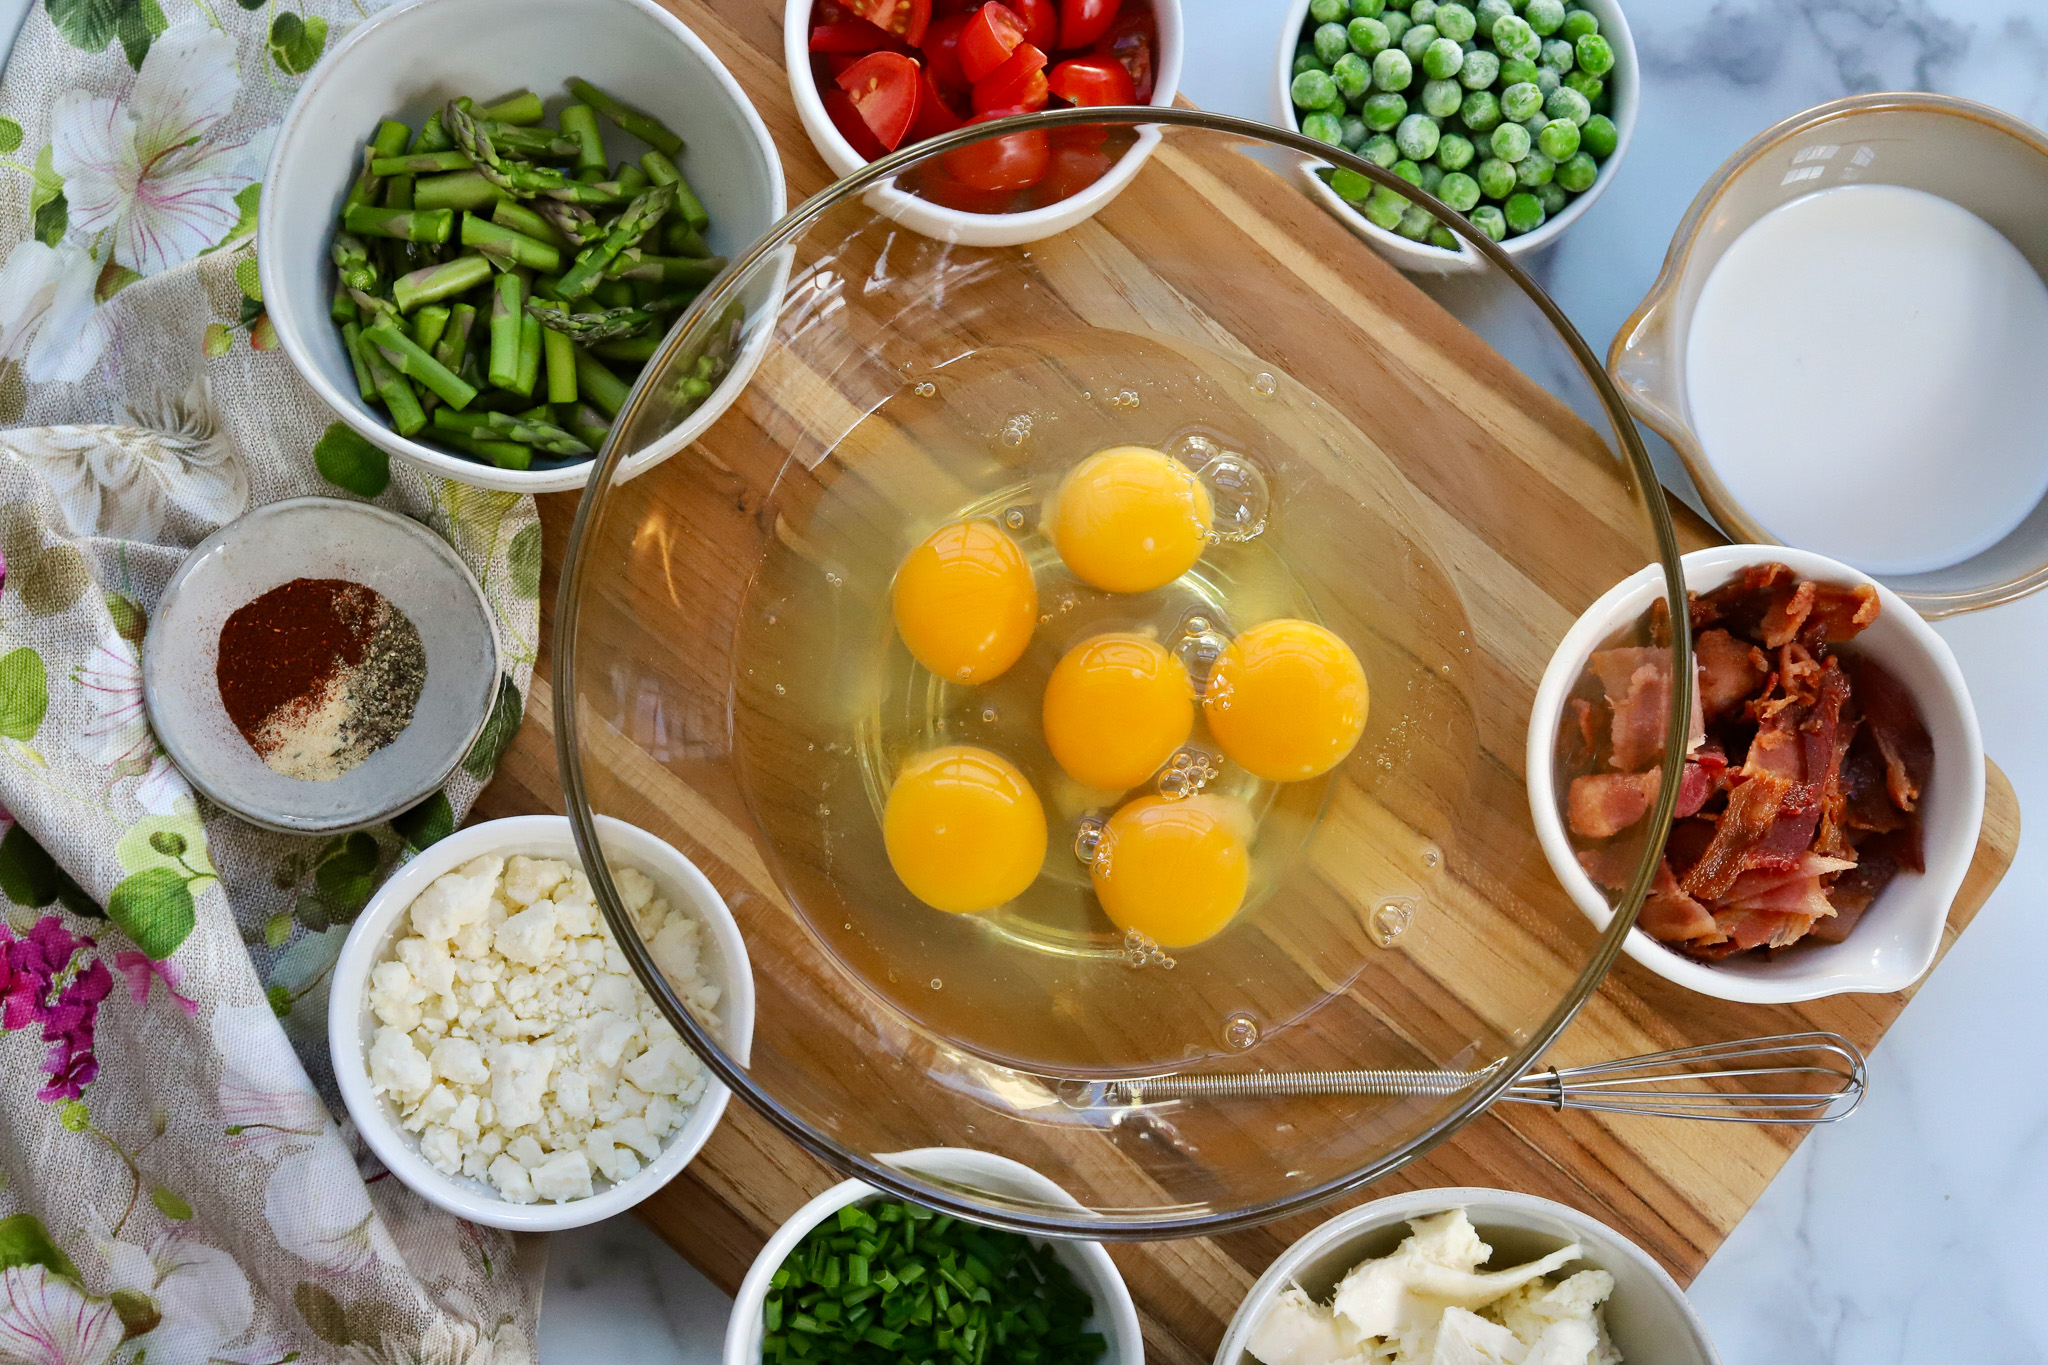
There are a variety of ways you can make this dish, but I personally feel that the following items make for the tastiest combination. Not only we we enjoy this at home, but I also like to make it for family gatherings or potlucks! Here’s what you’ll need:
- Bacon
- Eggs
- Half and Half
- Garlic Powder
- Paprika
- Peas
- Asparagus
- Cherry Tomatoes
- Chives
- Feta
- Fresh Mozzarella
- Salt + Black Pepper
- Refrigerated Pie Crust
Now if you want to get creative, you could swap out the bacon for ham, pick different cheeses, or make your own pie crust. I went the easy route and chose to use a premade refrigerated pie crust… but by all means, if you have time or want to make your own, go for it! This would also be delicious combination prepared as a frittata (no crust) if you’re watching your carb intake.
Per the usual, I grabbed all my ingredients from my local Earth Fare. They provide the cleanest, highest quality ingredients in every aisle, so I always feel good about shopping there. Come along and shop with me by clicking here!
TIPS I’VE LEARNED ALONG THE WAY:
- USE CAST IRON: I prefer to utilize a cast iron pan because it cooks more evenly and retains heat better than a pie plate. The one I used here is 10 inches.
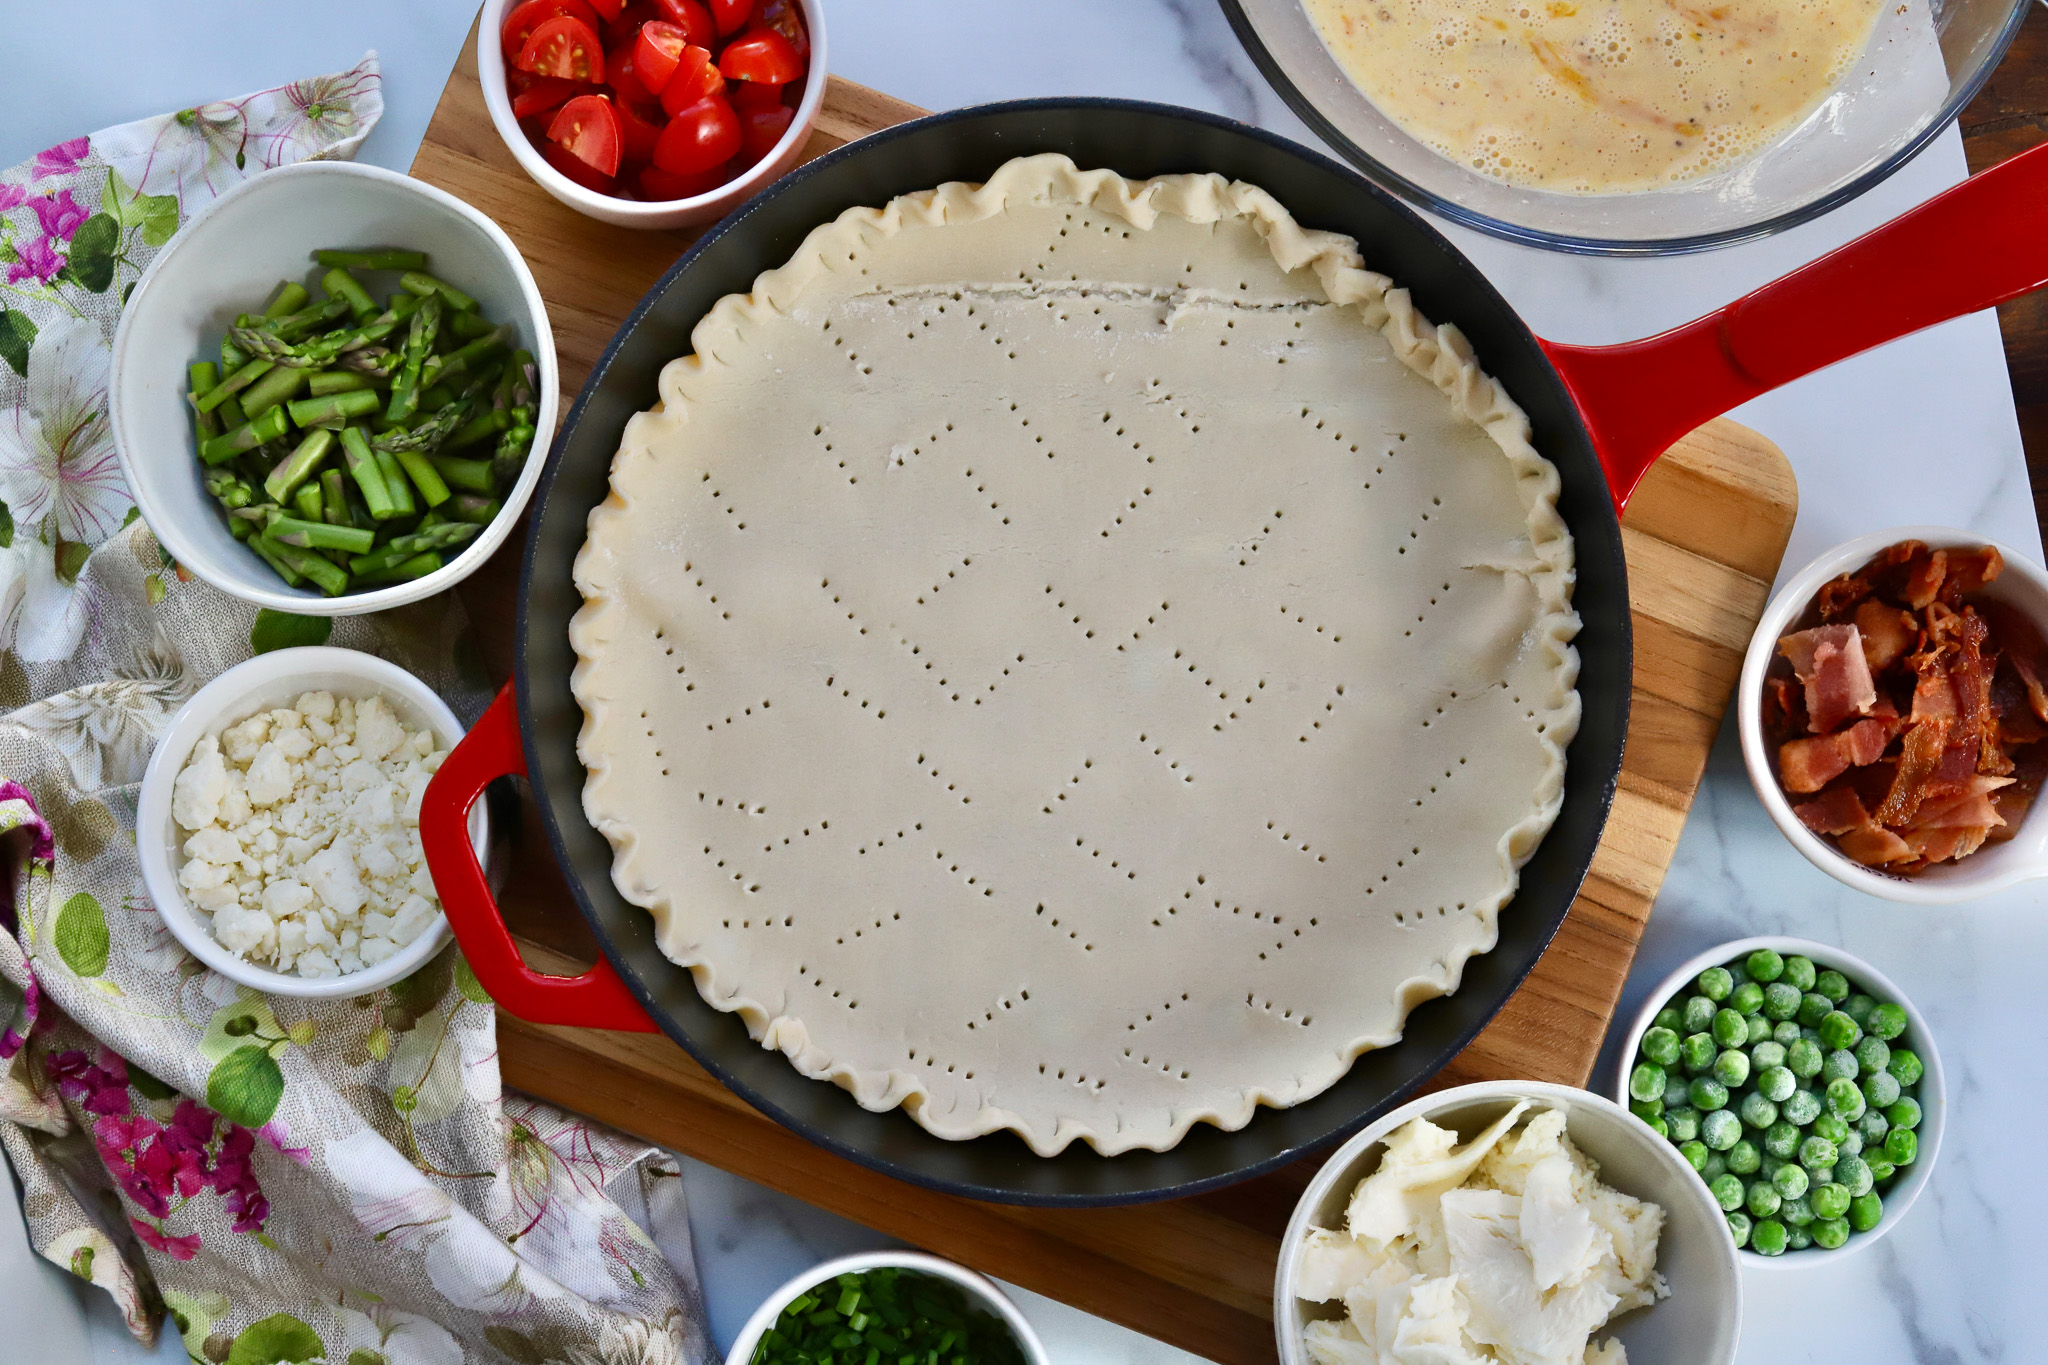
- PRICK THE PIE CRUST: Do this simply by poking the crust all over with a fork. This ensures that the crust does not bubble up while baking.
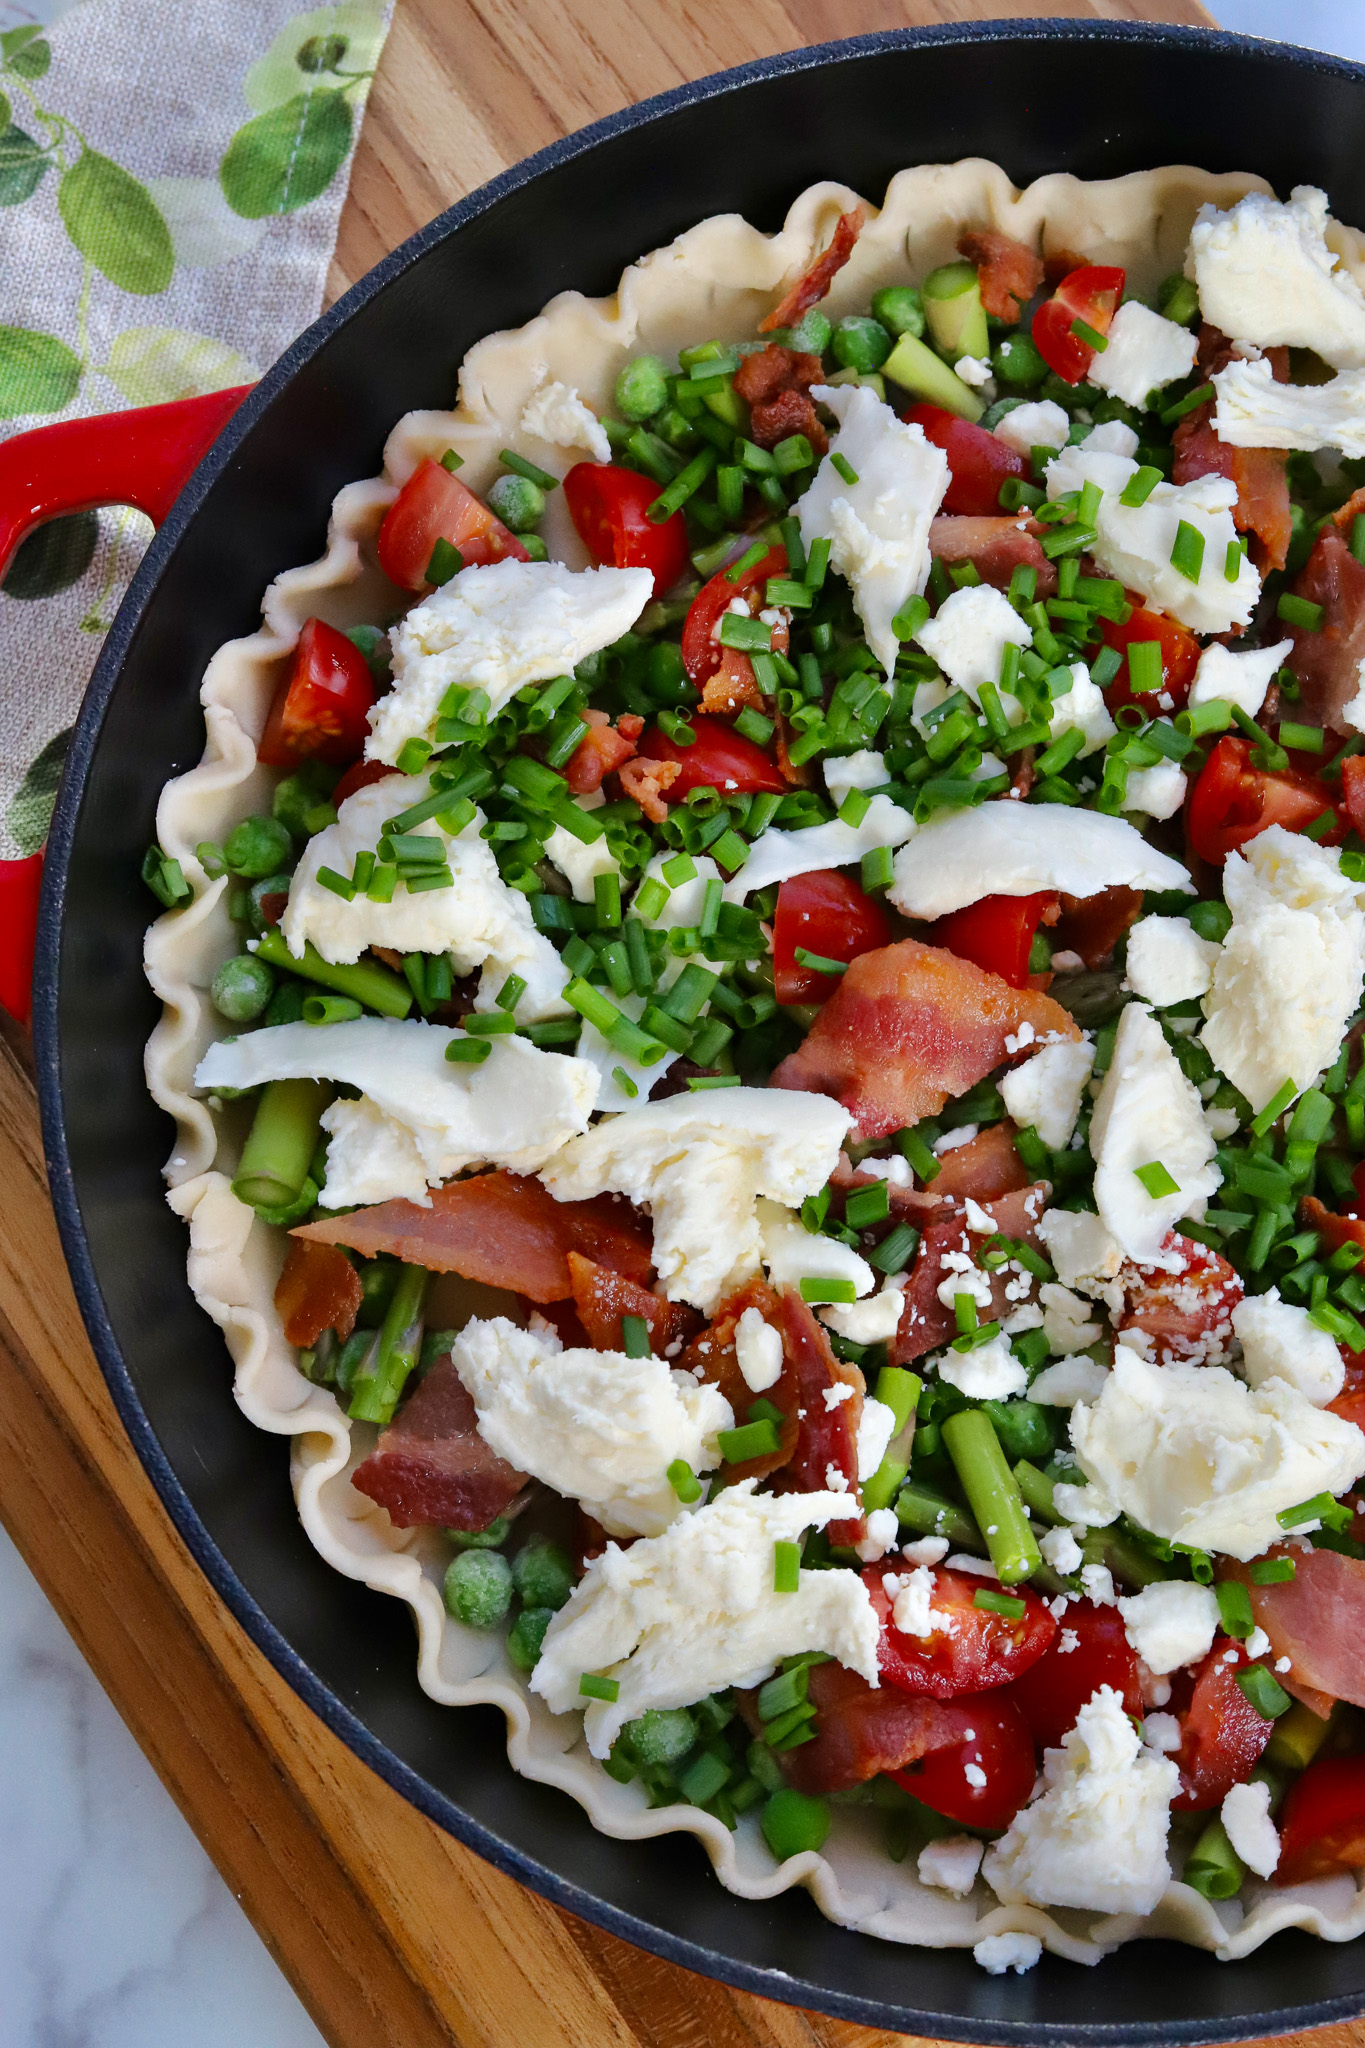
- ADD FILLINGS BEFORE EGGS: To ensure you don’t overcrowd your frittata, place the pie crust down first and then add your fillings. Pour the whisked eggs over until it’s covering the filling and just under the pie crust edge.
- KEEP AN EYE OUT: Don’t forget to check on the quiche as it bakes. If the edges are browning too quickly, cover the outside ring of the crust with aluminum foil.
MORE RECIPES TO SHARE WITH YOUR FAM:
Red Pepper, Corn, and Sausage Breakfast Casserole
Mini Spinach Pies with Whipped Ricotta
Chicken Cordon Blue Casserole with Toasty Bagels
Ham & White Cheddar Bread Pudding
Protein-Packed Grated Egg Biscuits
Sweet Potato Brunch Deviled Eggs
Easy Sheet Pan Raspberry Pie for a Crowd
CLICK HERE FOR MORE RECIPES!
- 5 Bacon Strips, cooked and chopped
- 6 Eggs
- ½ cup Half and Half
- ½ tsp. Garlic Powder
- ¼ tsp. Paprika
- Refrigerated Pie Crust
- ½ cup Frozen Peas, thawed
- ½ cup Chopped Asparagus
- 8 Cherry Tomatoes, cut in half
- ¼ cup Chives
- ¼ cup Crumbled Feta
- 4 oz. Fresh Mozzarella, torn
- ¼ tsp. Salt
- ¼ tsp. Black Pepper
- Preheat the oven to 375F.
- Unroll pie crust and press into a 9” or 10” oven-proof skillet. Crimp the edges along the top, if desired.
- Whisk together the eggs, half and half, garlic powder, paprika, salt, and pepper in a large bowl. Set aside.
- Add the cooked bacon, peas, asparagus, tomatoes, chives, feta, and mozzarella on top of the pie crust. Then pour over the egg mixture that you previously whisked.
- Bake for 35 - 40 minutes, or until the center is set. Let cool for 10 minutes before slicing and serving.
NOTES ON THIS RECIPE:
- Cooking times may vary if you’re using a homemade crust or frozen version.
- Can you make this in advance? You ‘betcha! Go ahead and follow the directions listed above. Allow the quiche to cool for an hour or so, then refrigerate. To reheat, simply microwave or cover with foil and pop it into a 325F oven until heated through.
- Leftovers should be consumed within 2 – 3 days.
This post is sponsored in partnership with Earth Fare. Per the usual, all opinions here are mine alone and I would never recommend a product or grocery store that I did not immensely enjoy myself. Thank you for supporting the brands that support SliceOfJess.com!
PIN THIS FOR LATER:





Leave a Reply