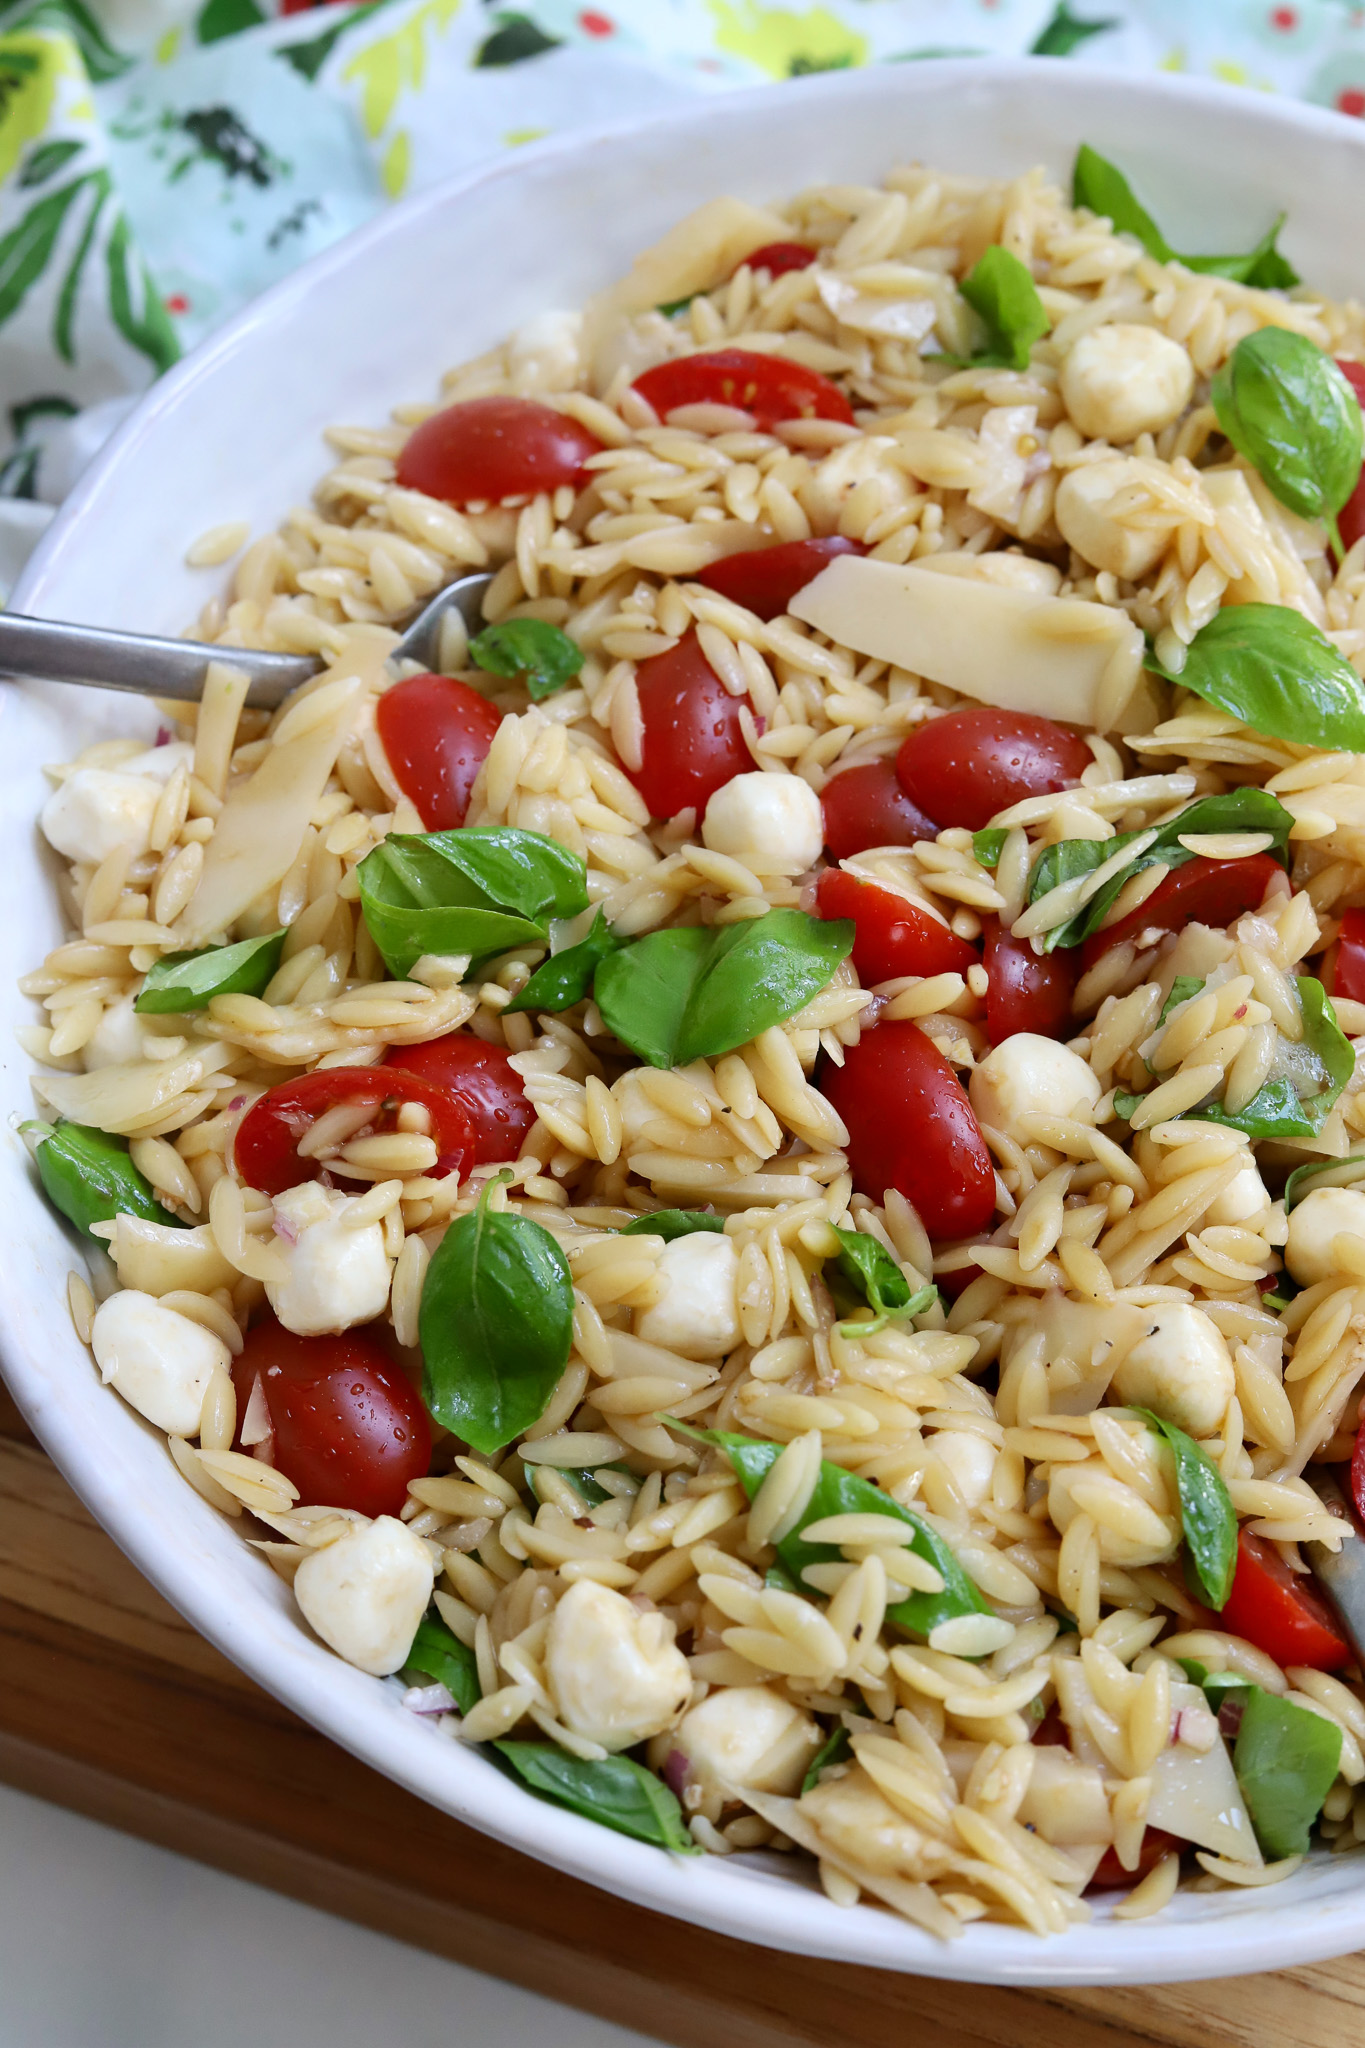
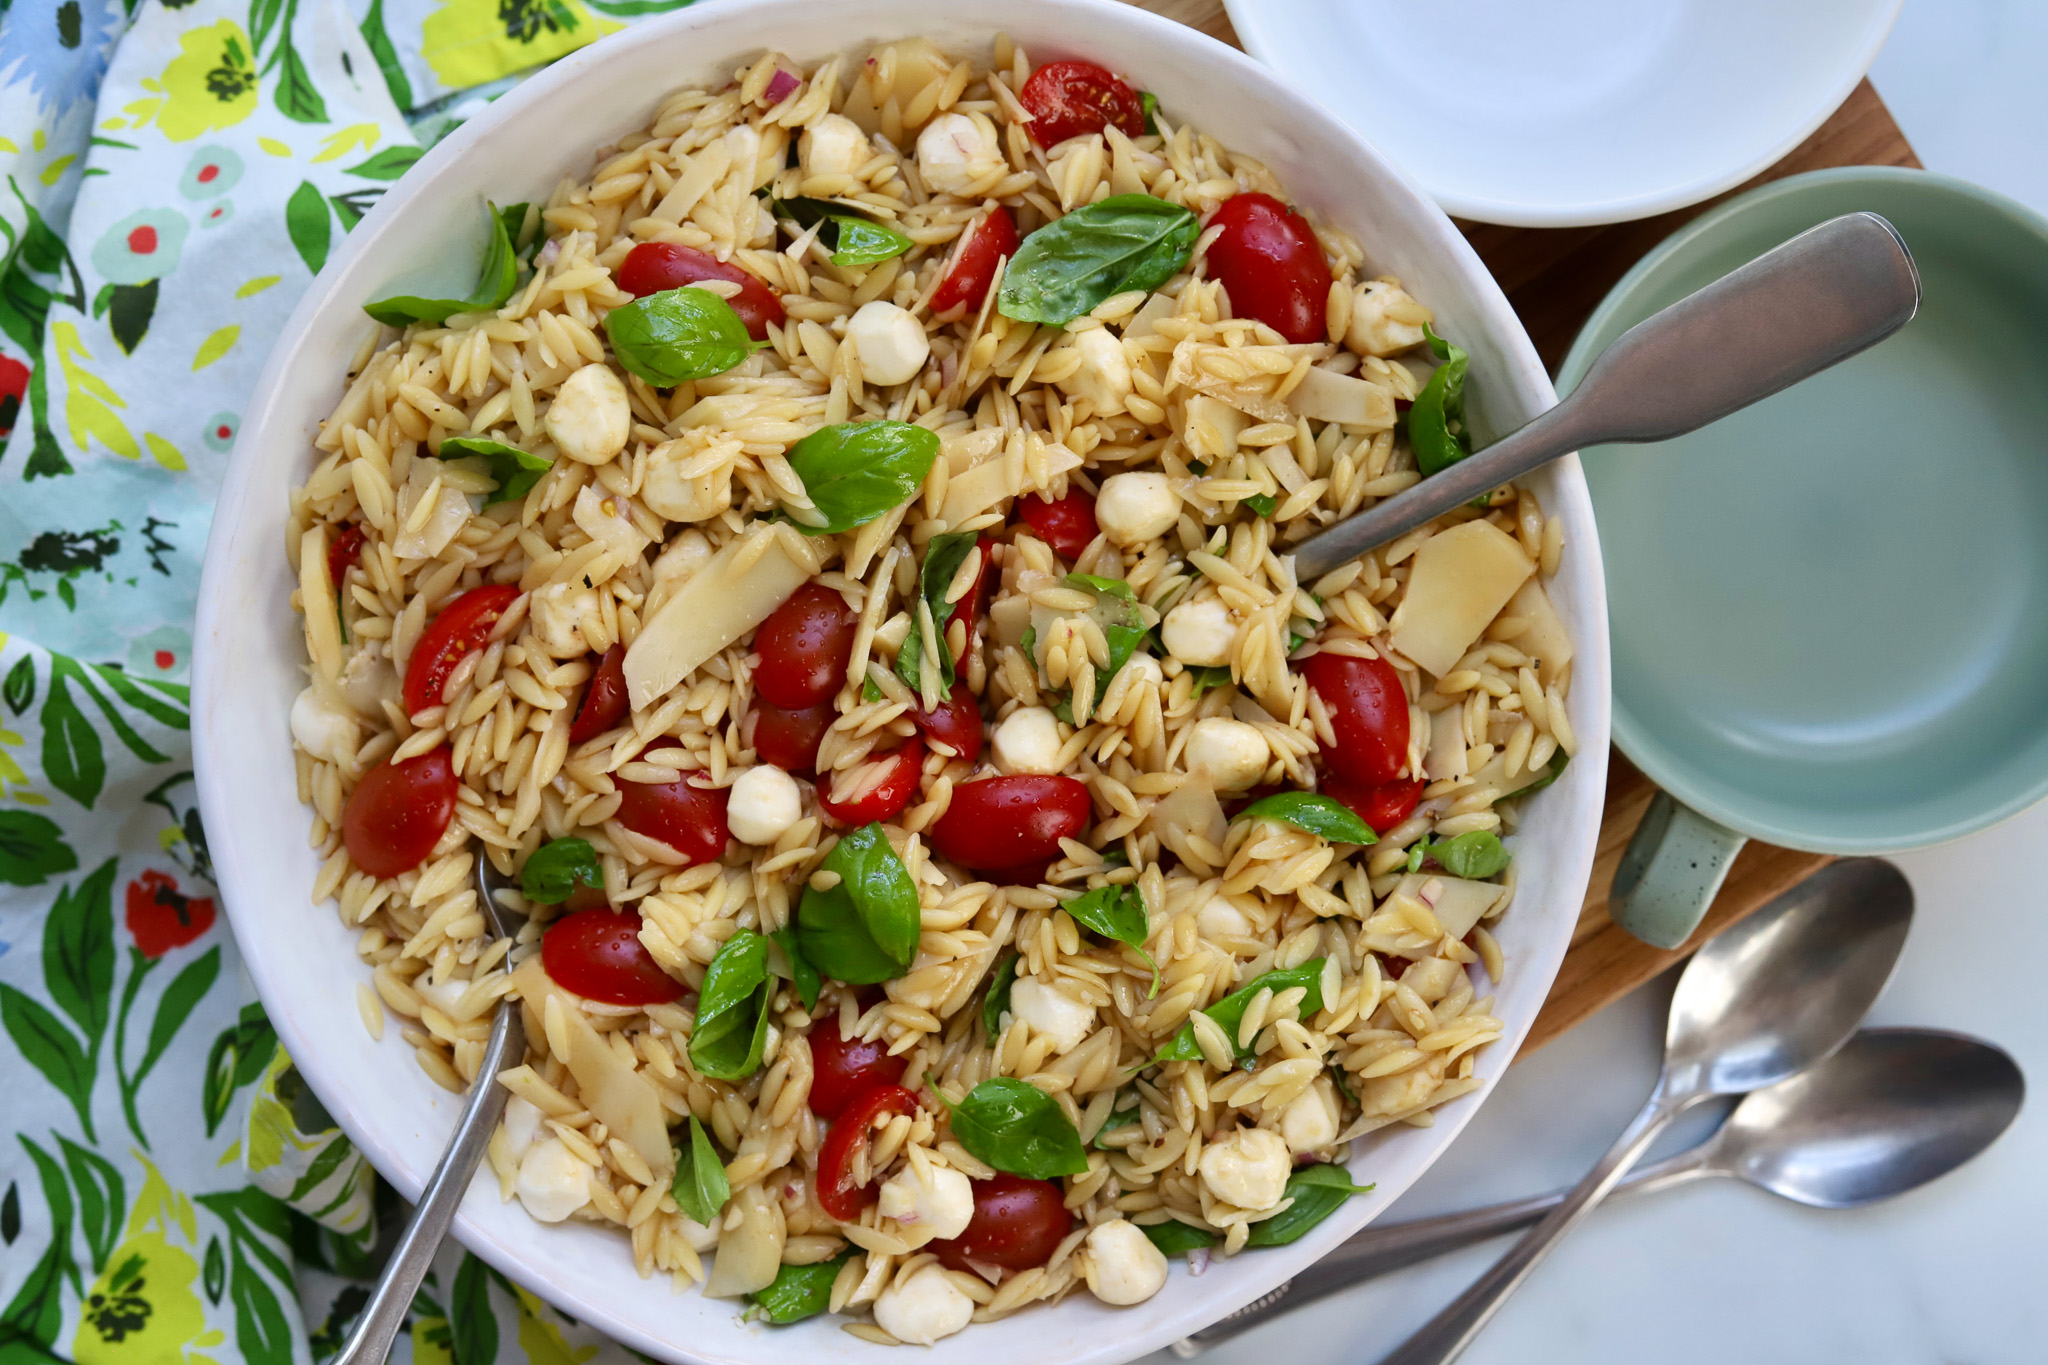
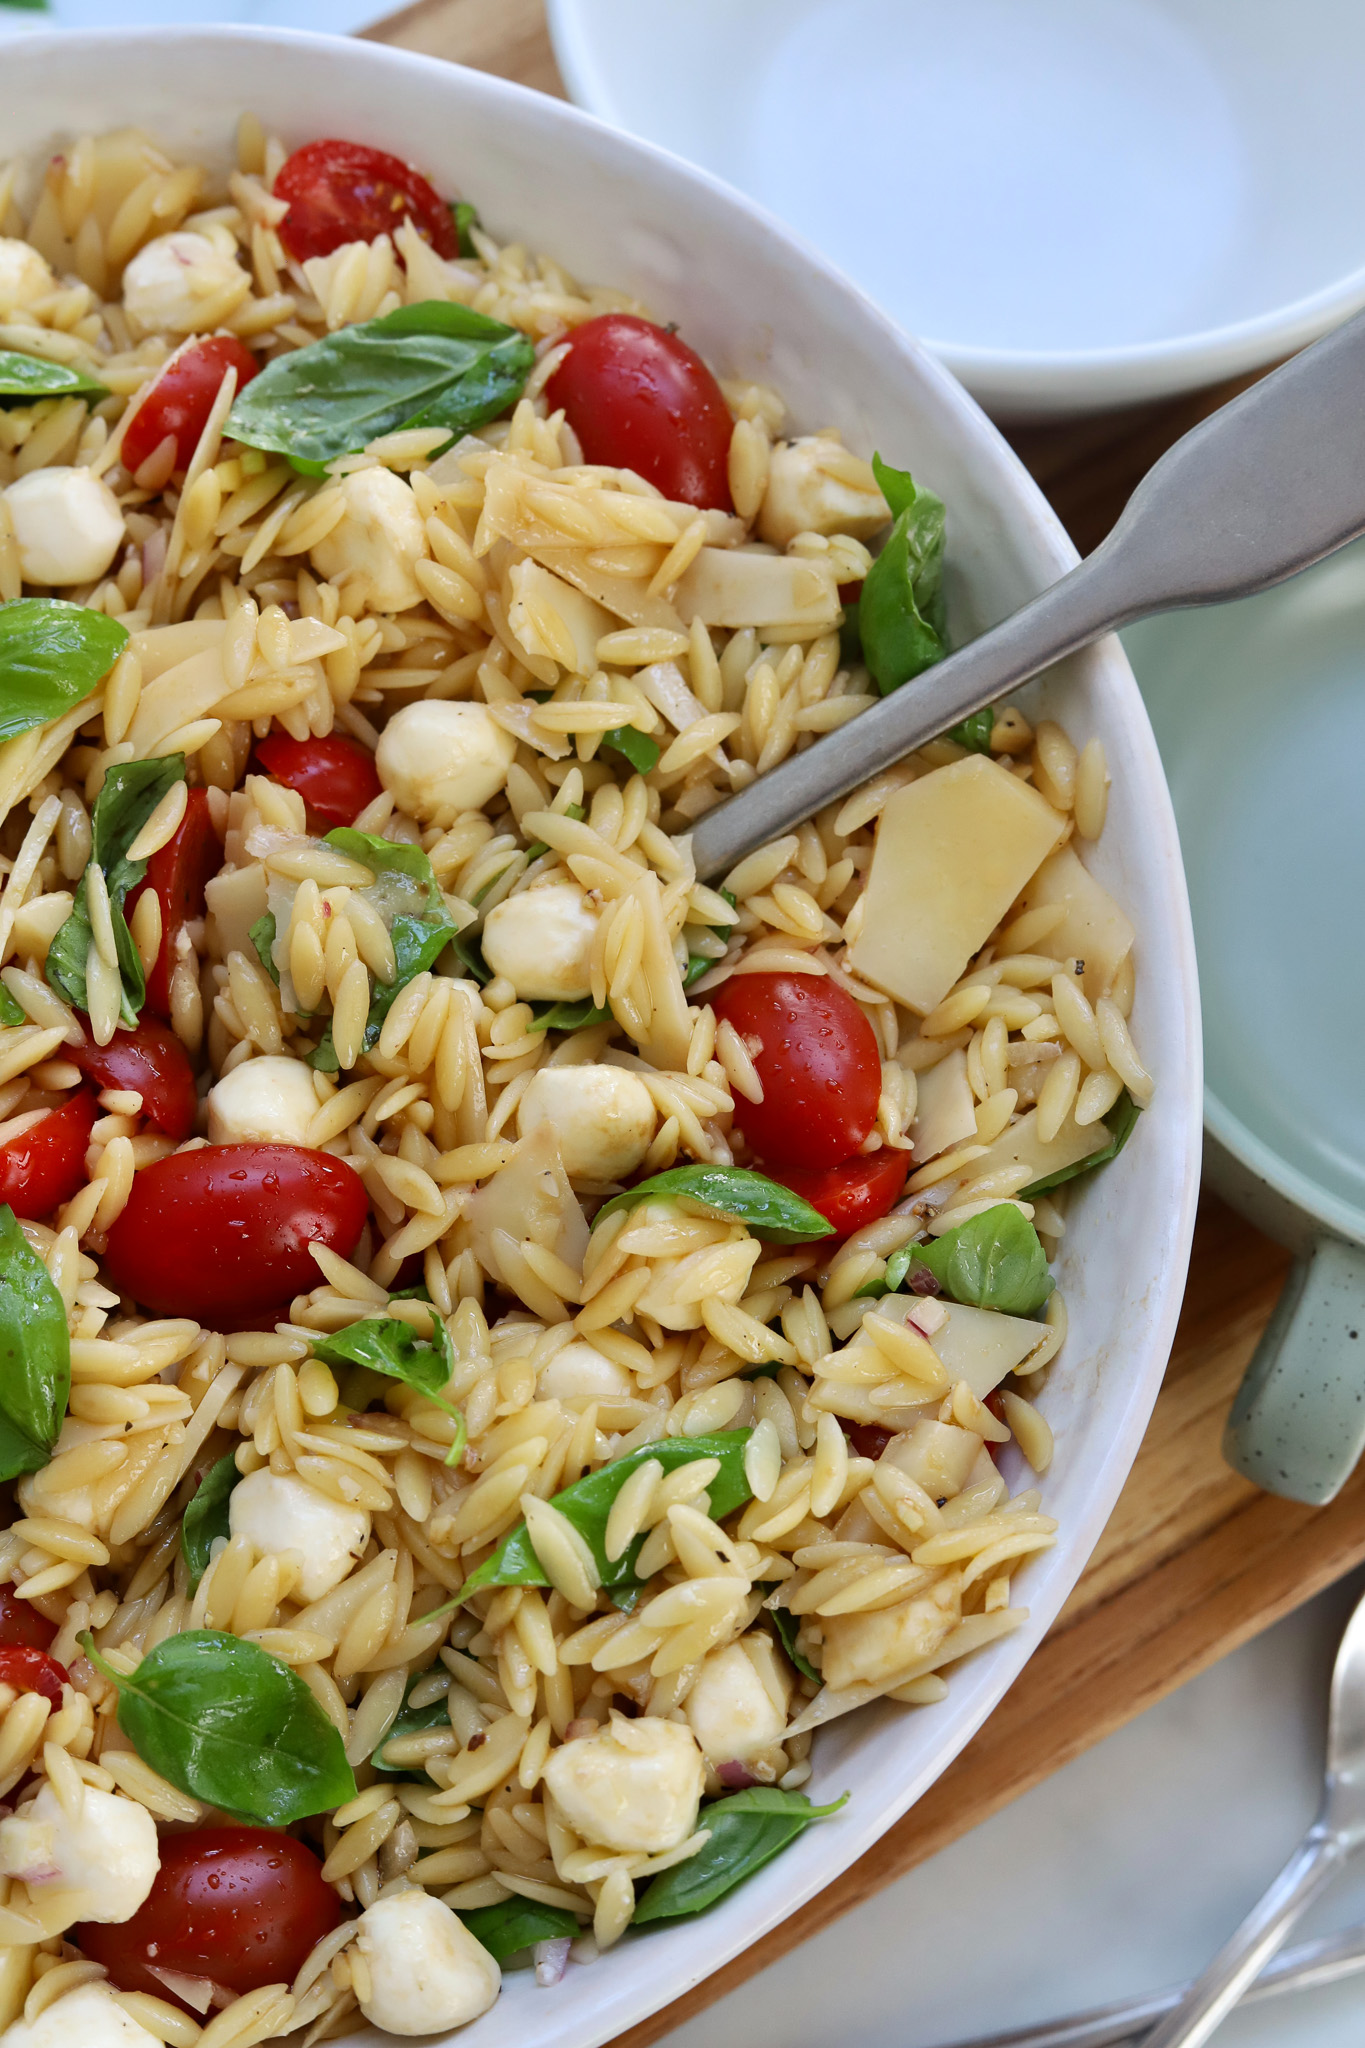
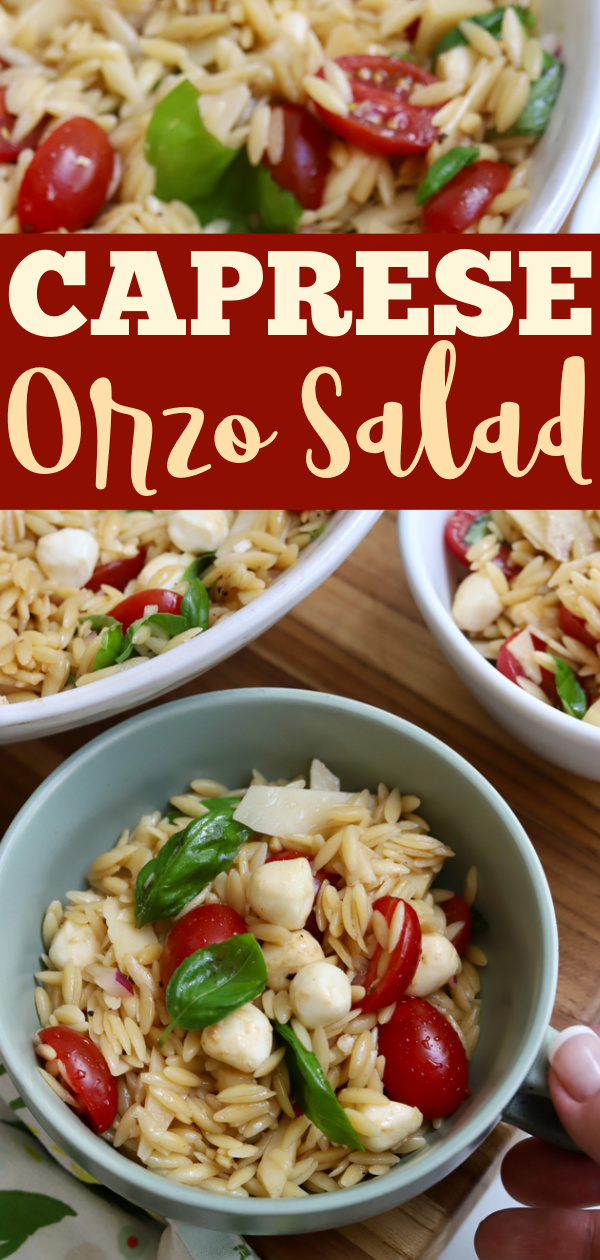
This Caprese Pasta Salad is fresh and herby, drizzled with savory and sweet to create the most delicious combination. It’s the ultimate side for lunch outings, cookouts, backyard get-togethers, or even meal prep for the week ahead!
With two young boys on their summer breaks, we do a lot of entertaining at our house. Friends come over during the week, family visits almost every weekend, and we pretty much meet neighbors almost every day at our community pool. I love to entertain (are you surprised? ha!), so side dishes and appetizers are always on my mind. In addition to this recipe here, we also love serving this Super Refreshing Watermelon Cucumber Salad with Feta, these cute little Charcuterie Boards in a Jar, and my Cheesy Corn Dog Muffins Spiked with Pickles during these few months at home.
CLICK HERE TO WATCH OUR HOW-TO VIDEO!
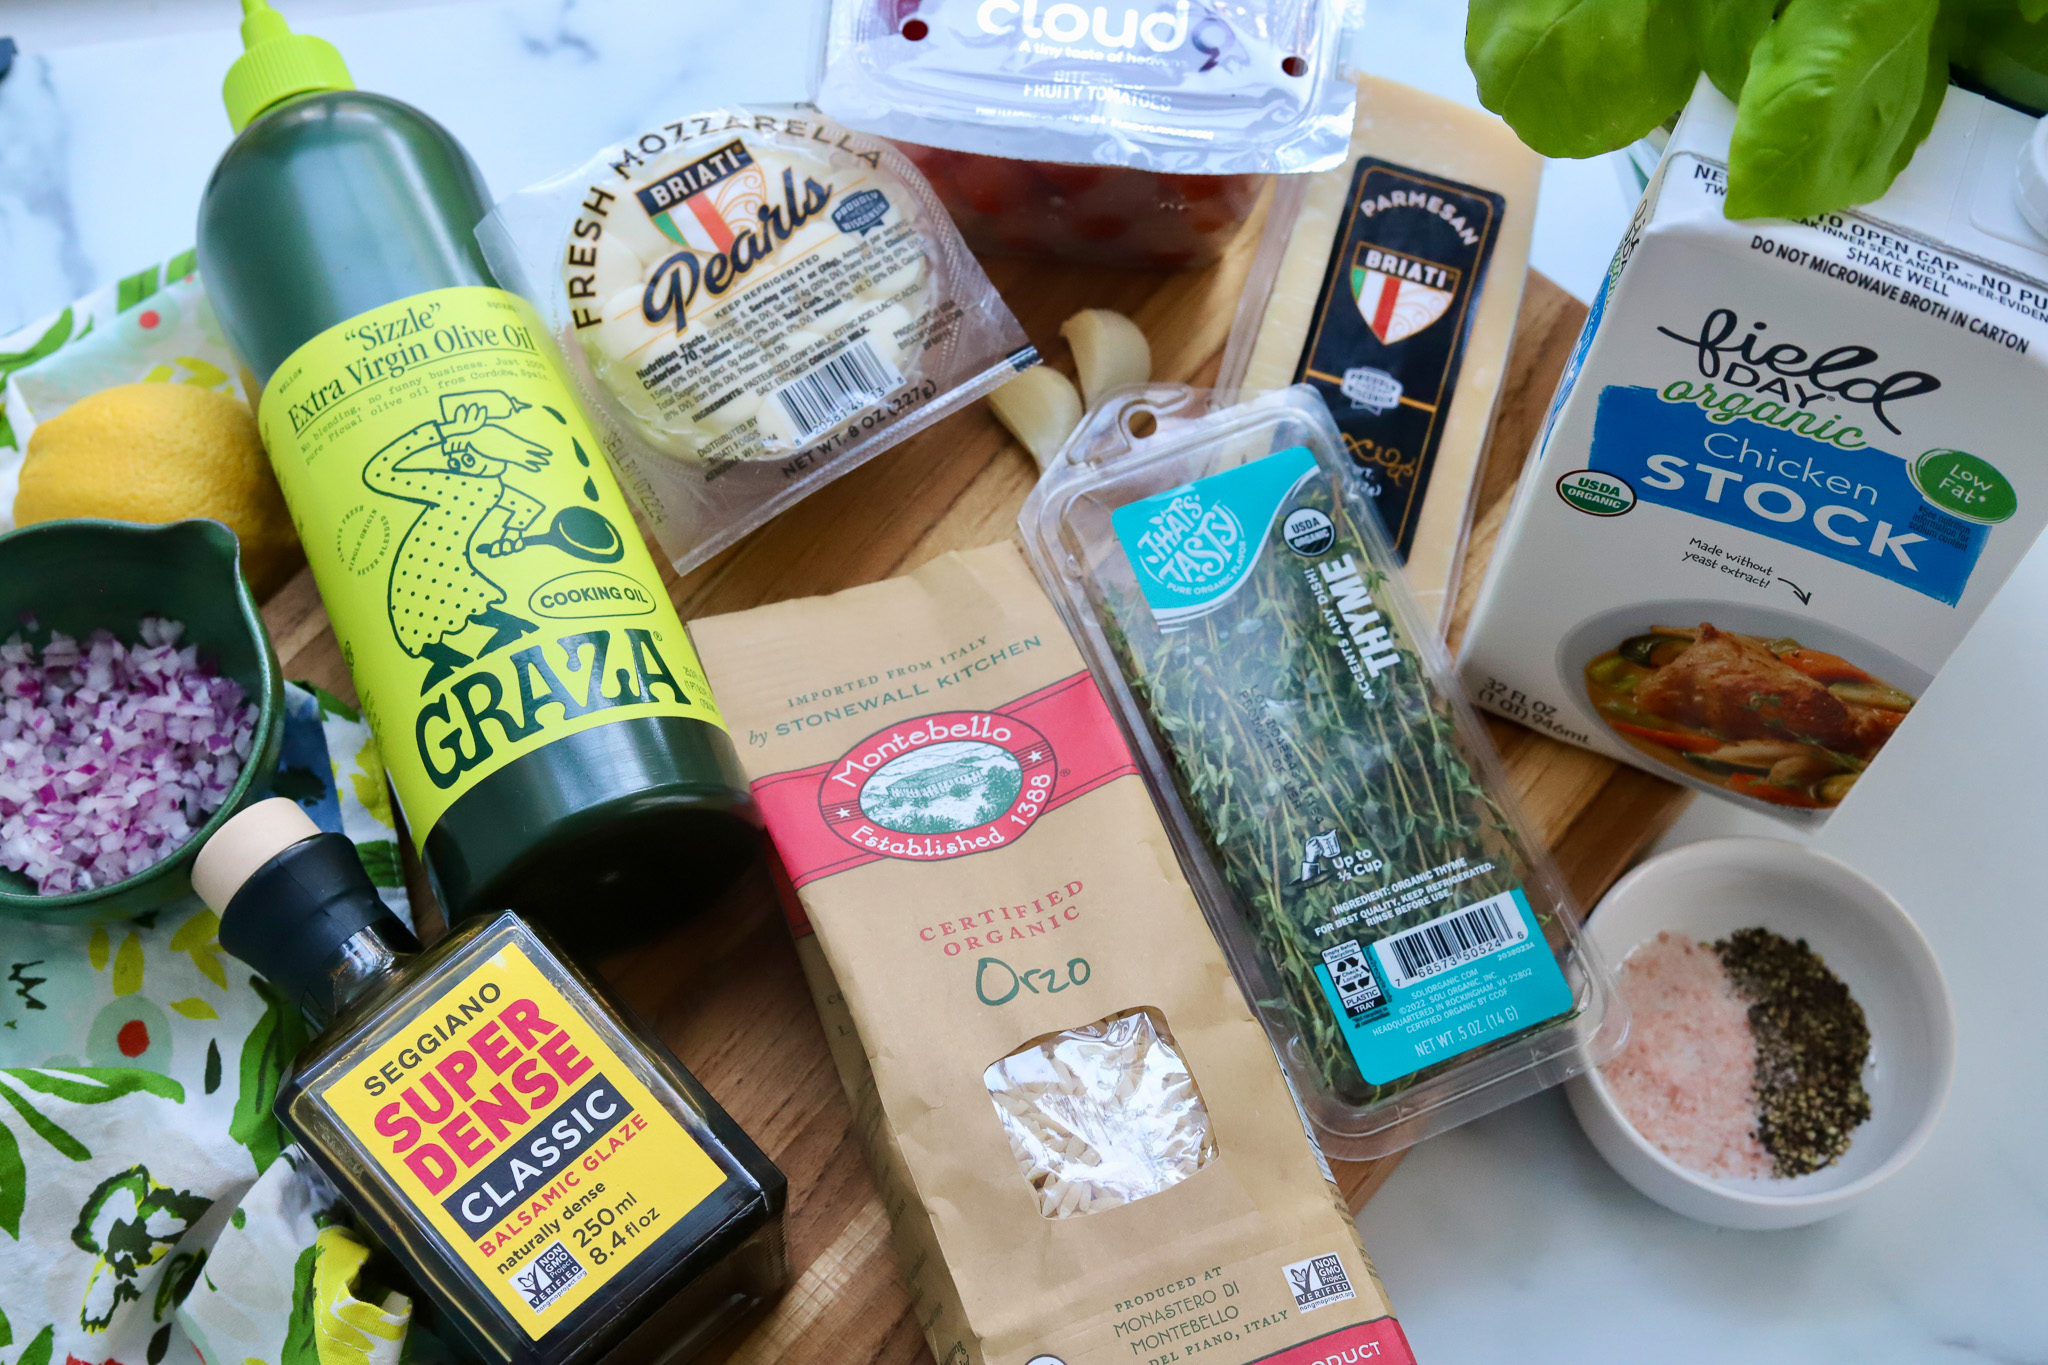
INGREDIENTS FOR CAPRESE PASTA SALAD:
This is a pretty straight forward, base recipe. However, there’s lots of various ways you can jazz this up! I’ll list different ideas below.
- Orzo Pasta
- Chicken Stock
- Water
- Garlic Cloves
- Cherry or Grape Tomatoes
- Fresh Basil
- Fresh Thyme
- Mozzarella Pearls
- Lemon
- Shallot or Red Onion
- Parmesan
- Olive Oil
- Aged Balsamic Glaze
- Salt + Pepper
SWAP OUTS + ADD-INS + VARIATIONS:
CHICKEN STOCK: While I prefer the extra protein and flavor chicken stock provides, you can certainly substitute it out with chicken broth, vegetable broth, or just stick with water. If using water, I would suggest that you salt the water for better flavor than plain. Oh, or feel free to use bone broth!
TOMATOES: I used fresh here, but you can also oven-roast them or swap them out for your favorite sun-dried tomatoes.
WANT MORE PROTEIN? Mix in some chopped salami, ham, chicken, or even chickpeas.
DON’T HAVE FRESH BASIL? Go ahead and swap this with a dollop or two of pesto.
WANT SOME CRUNCHIES? Go ahead and add some pine nuts, pepitas (shelled pumpkin seeds), chopped walnuts, or cashews.
Per the usual, I grabbed this haul at my local Earth Fare. They have so many unbelievable products at affordable prices, I just can’t help myself! View all of our recipe collaborations by clicking here!
MORE SUMMER-ISH RECIPES YOU’LL LOVE:
Mexican Street Corn Deviled Eggs with a Korean Twist
Charred Corn with Cilantro Cowboy Butter
Strawberry Spinach Salad Recipe with Apples
Rustic Toast with Crème Fraîche and Heirloom Tomatoes
Fun Hot Dog Recipes to Enjoy All Summer
Sweet and Spicy Balsamic Blistered Tomatoes with Burrata
Summer Peach Tomato Salad Sandwich
How To Grill aa NY Strip Steak at Any Temperature
Unbelievably Refreshing Strawberry Mango Pico de Gallo
Grilled Peach Salad with Aged Balsamic Vinegar
CHECK OUT MORE RECIPES BY CLICKING HERE!
- 16 oz. Orzo Pasta
- 3 cups Chicken Stock
- 1 cup Water
- ⅓ cup Olive Oil
- 2 Garlic Cloves, minced
- 1 Pint Cherry or Grape Tomatoes, sliced in half
- 8 oz. Mozzarella Pearls
- ½ Shallot, minced
- 1 tbsp. Lemon Juice
- 1 tsp. Salt
- 1 tsp. Black Pepper
- 5 oz. Shaved Parmesan
- 1 cup loosely packed Fresh Basil, torn
- 2 Fresh Thyme Sprigs, stems discarded
- 2 tbsp. Balsamic Glaze
- Cook the orzo according to packaged directions with the chicken stock and water. Drain if necessary, and set aside to cool slightly.
- Transfer the cooled orzo to a large mixing bowl. Mix together with olive oil, garlic, tomatoes, mozzarella pearls, shallot, lemon juice, and salt + pepper.
- Gently fold in the parmesan, fresh basil, thyme, and balsamic glaze until combined. Serve immediately or store in the refrigerator until you’re ready to consume.
NOTES ON THIS RECIPE:
- Feel free to use your favorite pasta shape if you don’t have orzo on hand. It’ll taste the same… just a different shape. If using larger noodles, you might want to add a little more olive oil and aged balsamic, to taste.
- I like the extra bite that red onion gives, but not everyone is a big fan. So when making for a crowd I use shallot instead.
- This dish can be served warm, room temperature, or cold. Personally I prefer mine to be cold because it allows the flavors to marry together in the refrigerator. I’ll usually assemble, then set it in the refrigerator for an hour or so before serving.
- Leftovers should be kept refrigerated, in an airtight container, and gobbled up within 3 – 4 days.
This post is sponsored in partnership with Earth Fare. Per the usual, all opinions here are mine alone and I would never recommend a product or grocery store that I did not immensely enjoy myself. Thank you for supporting the brands that support SliceOfJess.com!





Leave a Reply