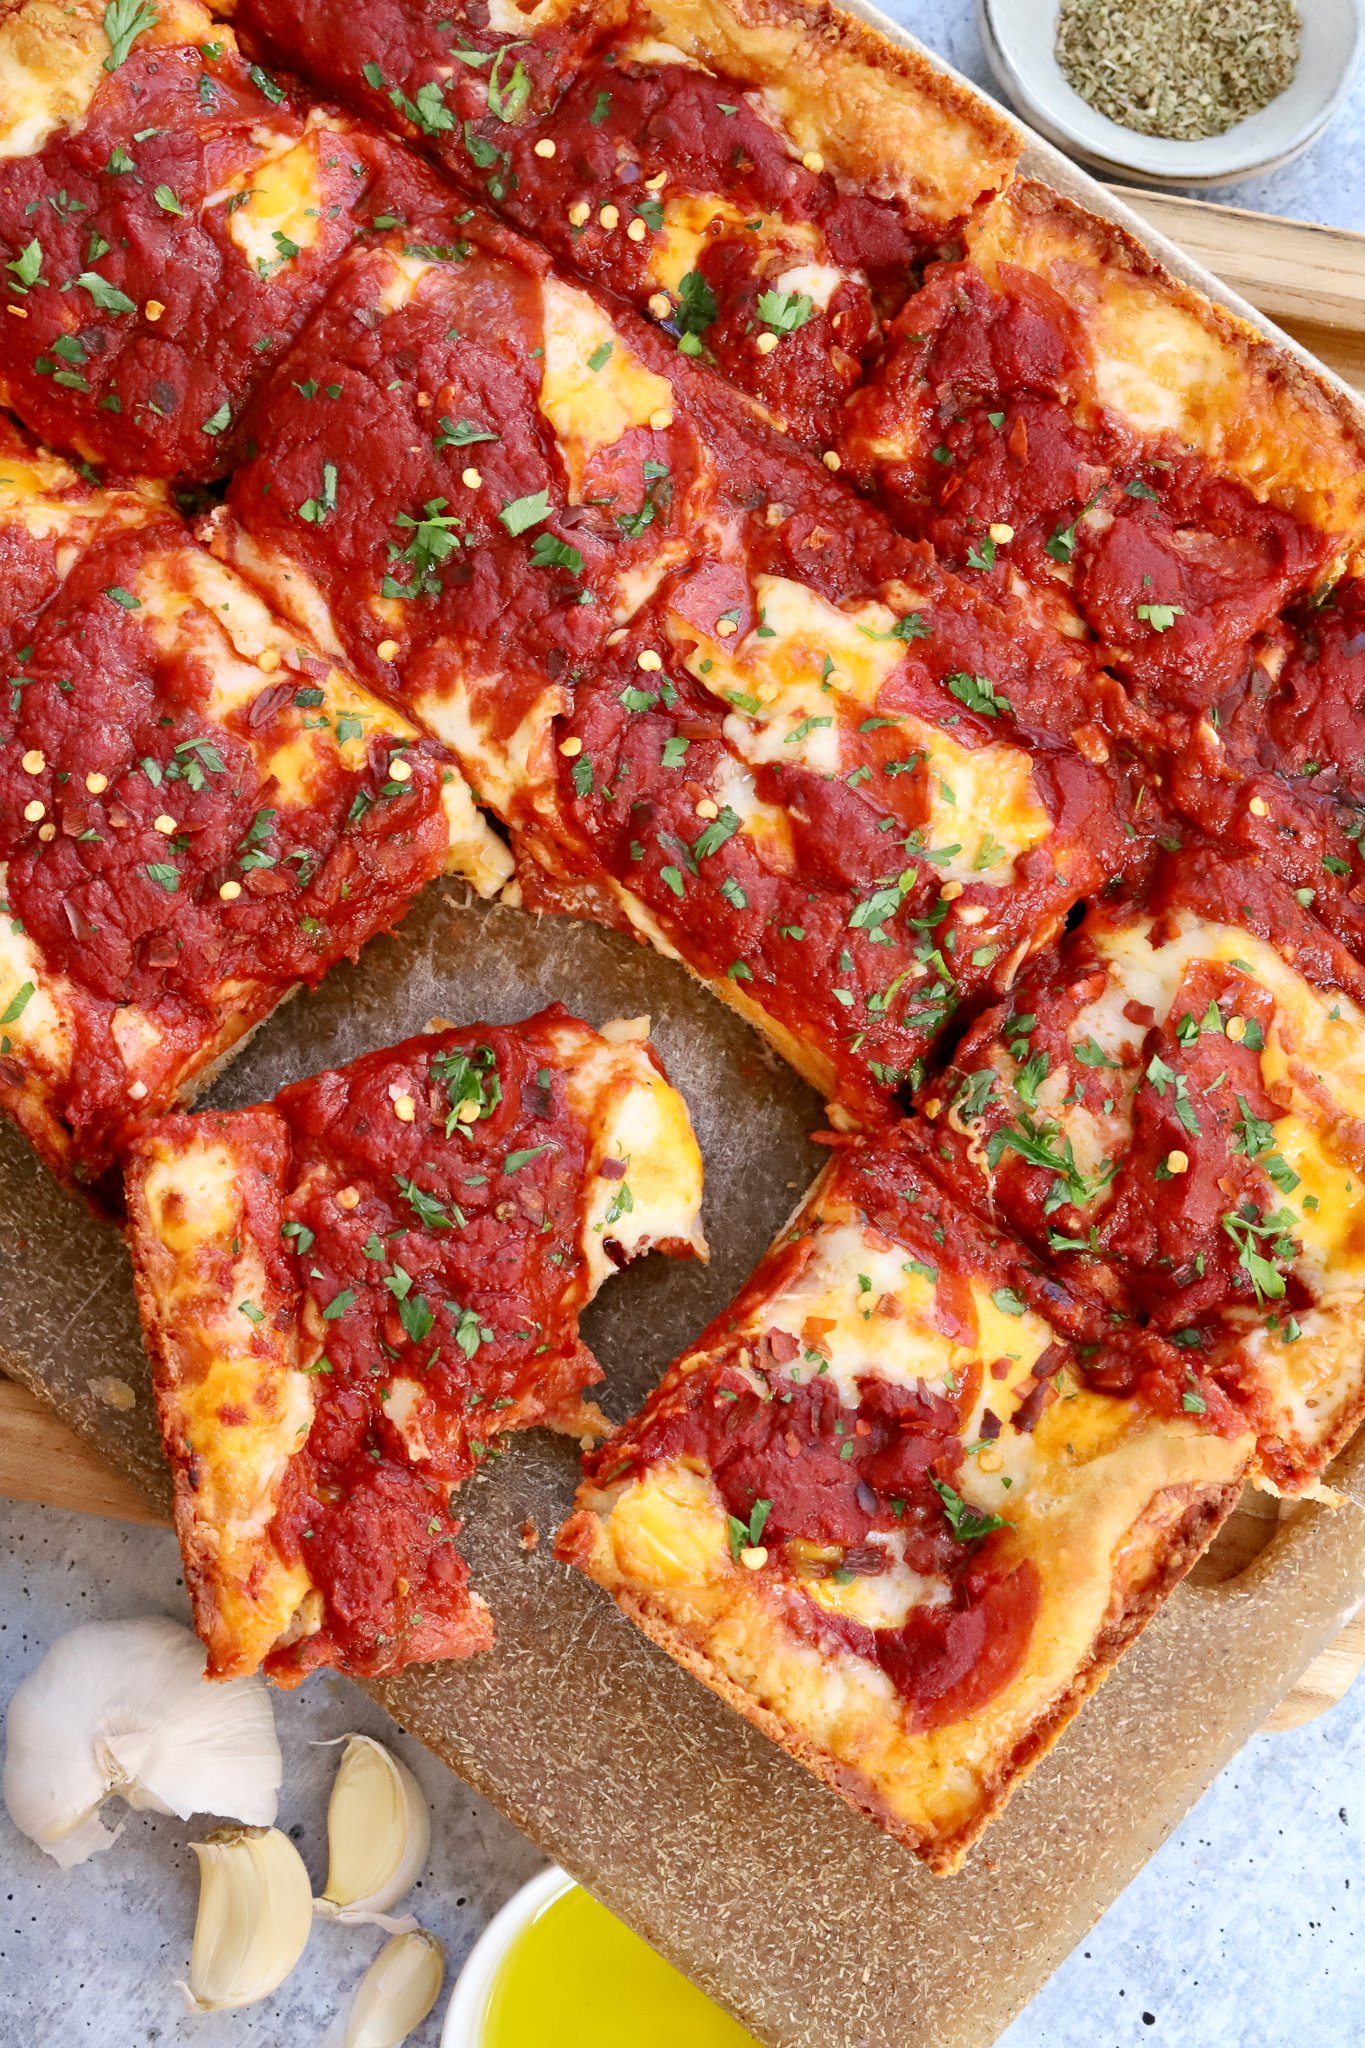
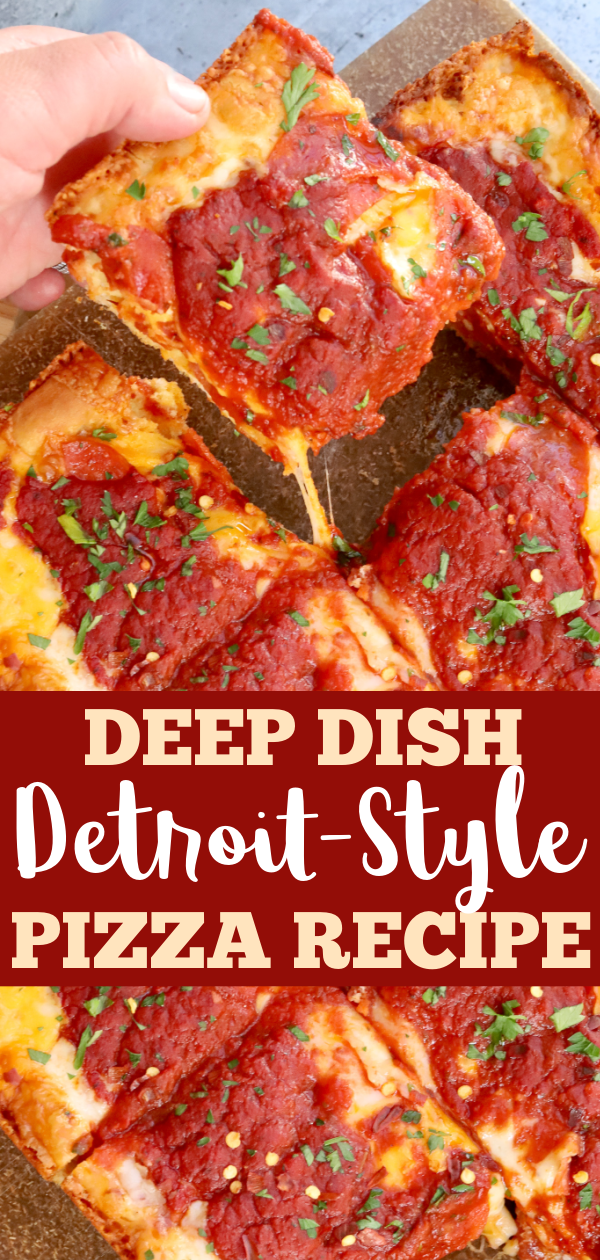
When it comes to homemade pies, nothing beats this Detroit-Style Pizza recipe. Crispy on the outside, soft and chewy in the center. The best of both worlds!
WATCH ME MAKE THIS ON THE GRAM
Hands down, pizza is one of my favorite things to nosh on (and sandwiches… oh man I love those too). Cheesy, piled high with toppings and sprinkled with fresh herbs… talk about cozy-deliciousness! Want more ‘zaa inspo? Make sure to check out my Italian Stuffed Stromboli, these Pepperoni Garlic Knots, and my homemade Taco Bell Mexican Pizza copycat!
WHAT IS DETROIT-STYLE PIZZA, YOU ASK?
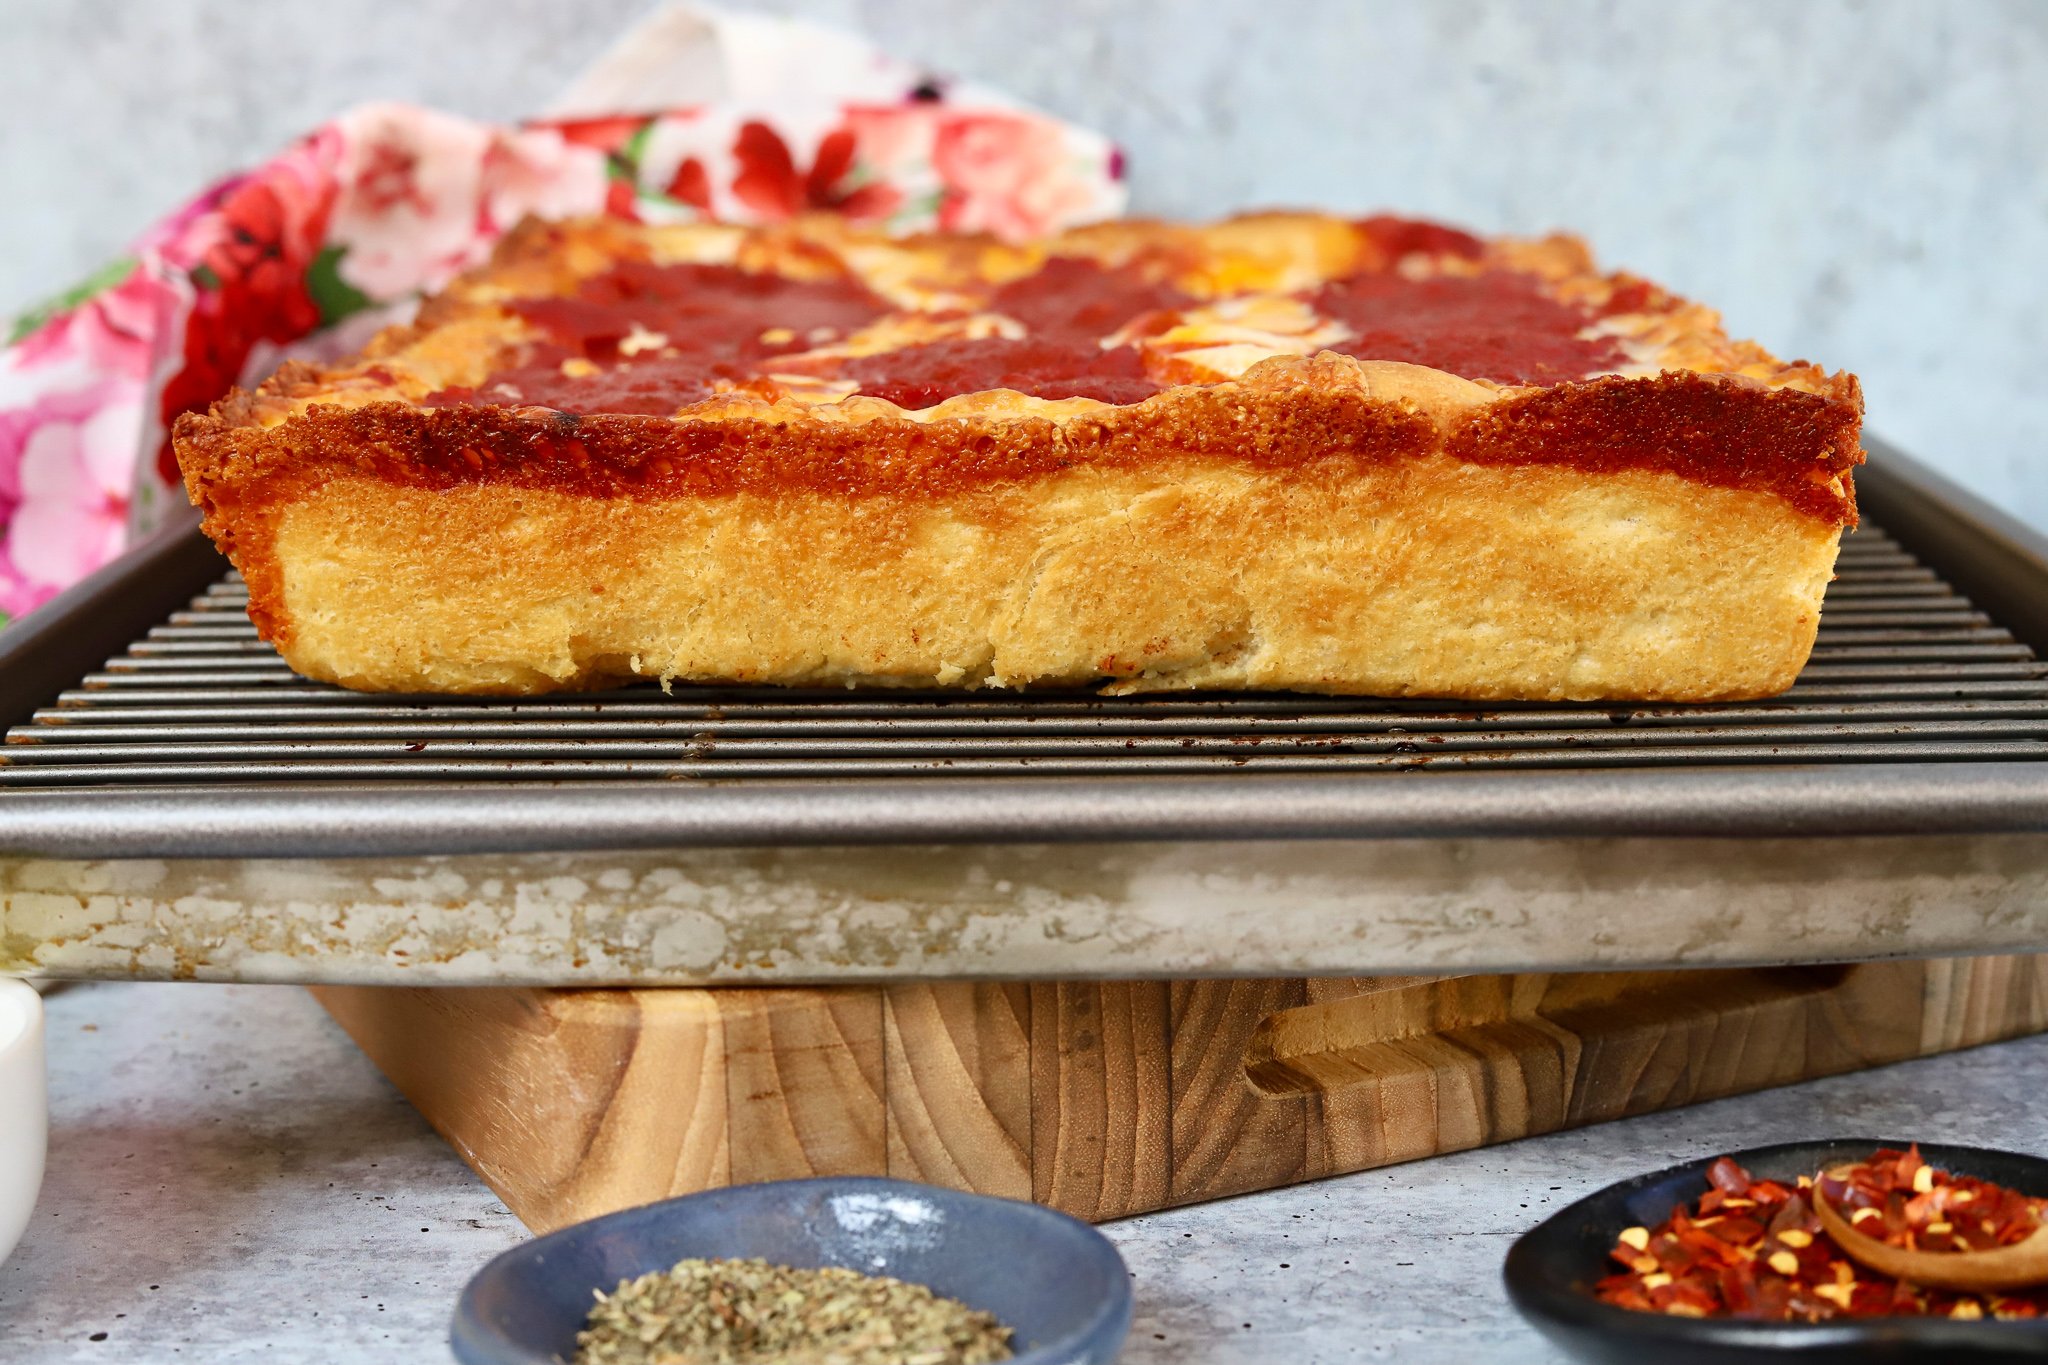
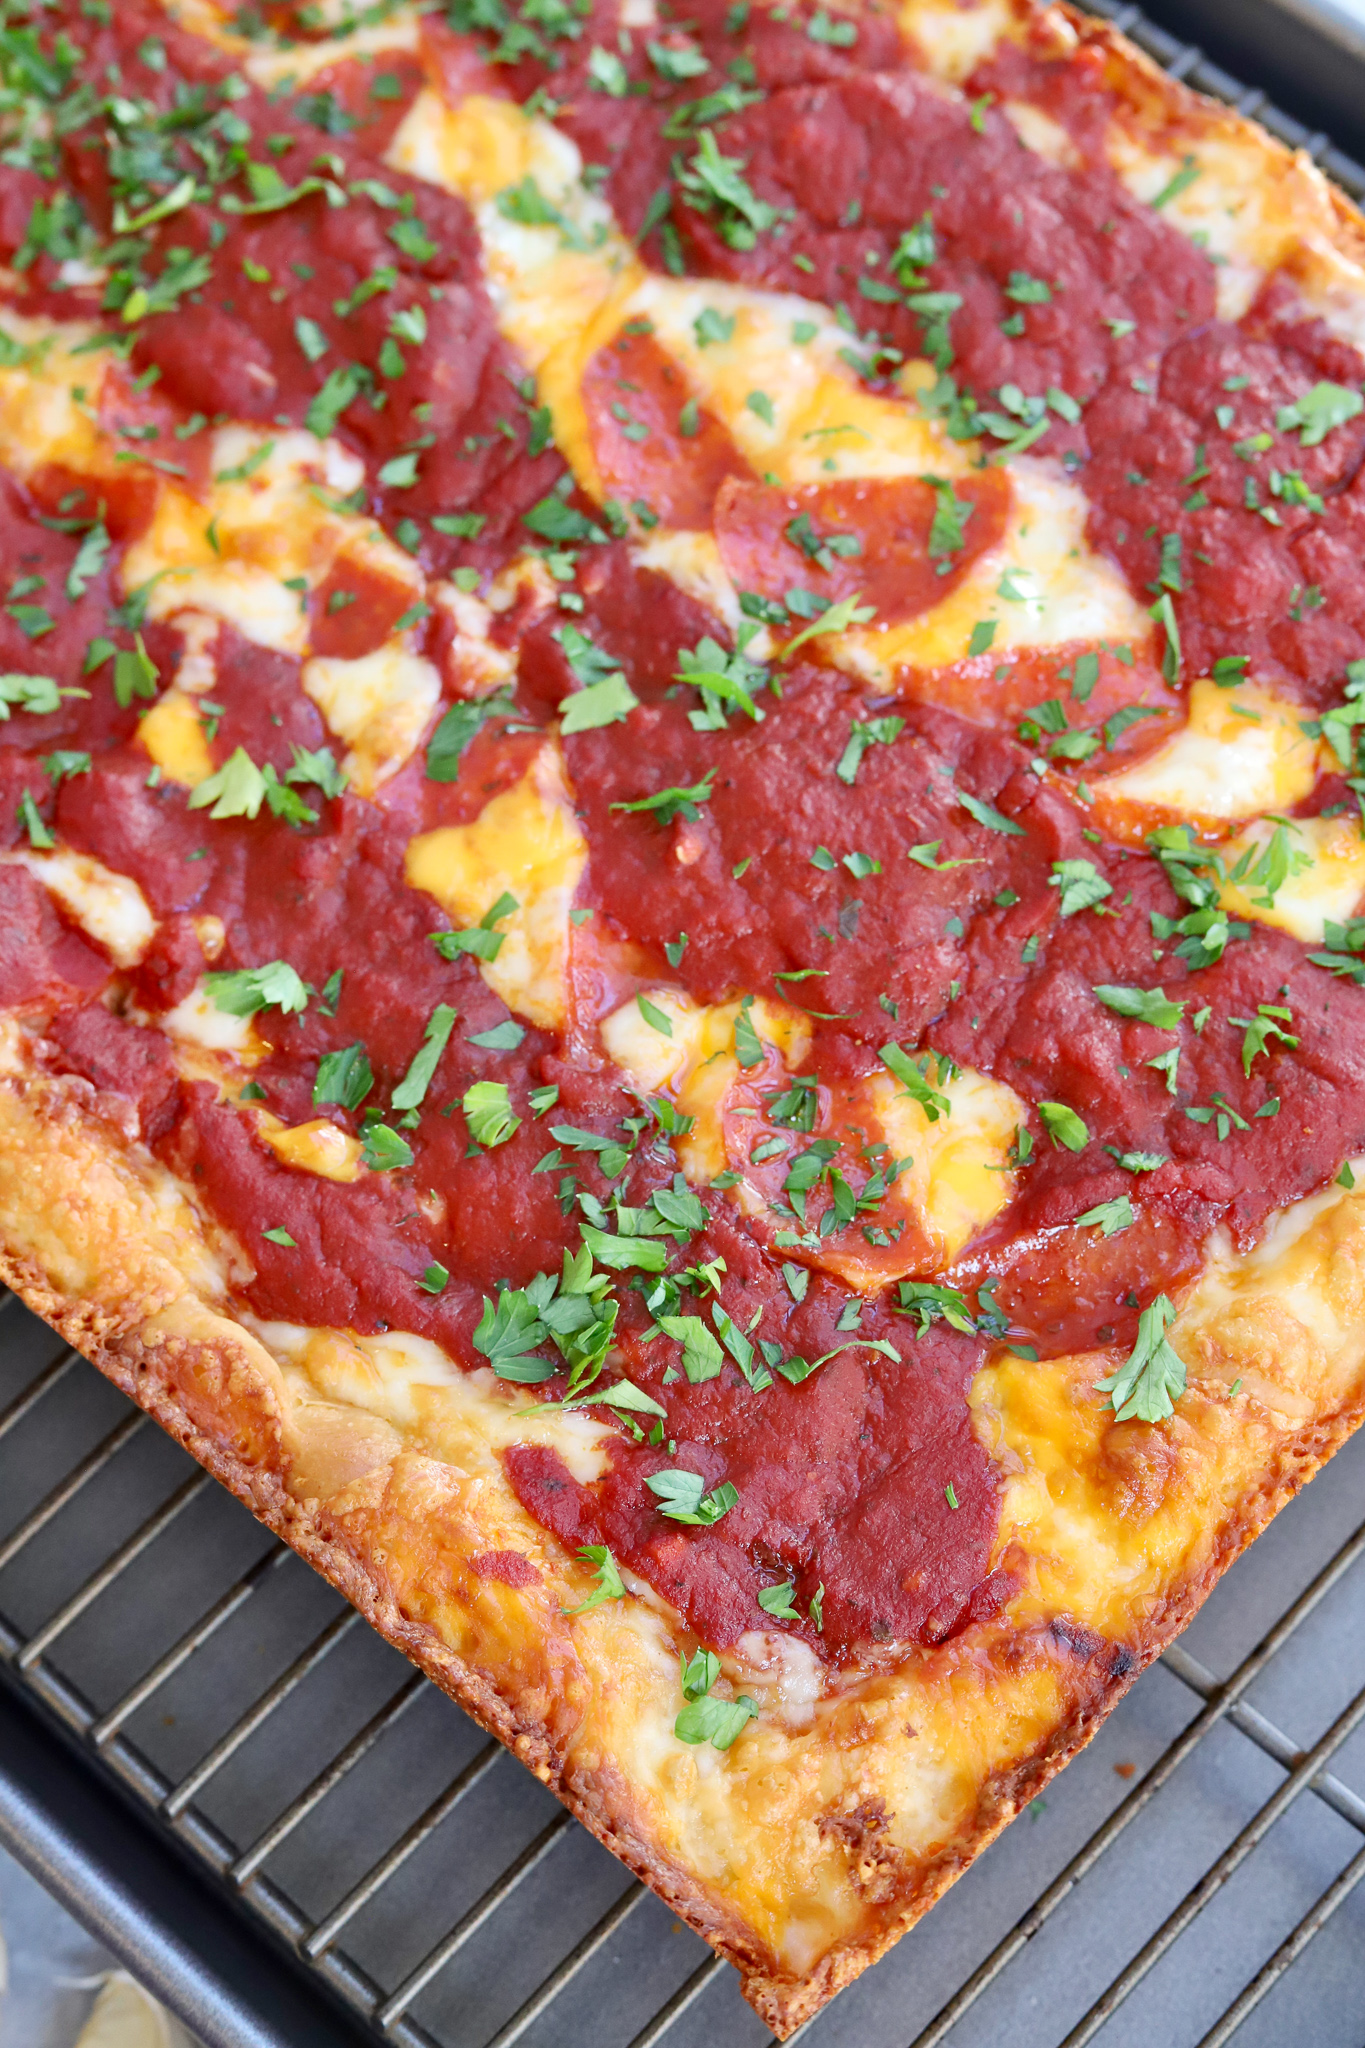
I feel like this thick, golden-crust, rectangular-shaped masterpiece doesn’t get enough recognition. Seriously, it’s simply amazing and really needs to be on your home-cooking radar. It’s cut into squares, so almost every piece has a crunchy crust that’s hugged by savory pizza sauce, gooey cheese and piled high with pepperoni.
So what’s the secret to a perfectly cooked Detroit-style Pizza? The deep dish pan it’s cooked in! This pan is more similar to a cast-iron skillet rather than a cake pan. I found mine on Amazon and I highly recommend it (affiliate link)!
TIPS AND TRICKS:
Here are a few things I like to keep in mind when making this recipe!
- The key to the crust is using bread flour. It’s high in gluten which helps create that perfectly textured crust. You could certainly use all-purpose flour to make pizza dough or a store-bought dough… but it won’t be the same.
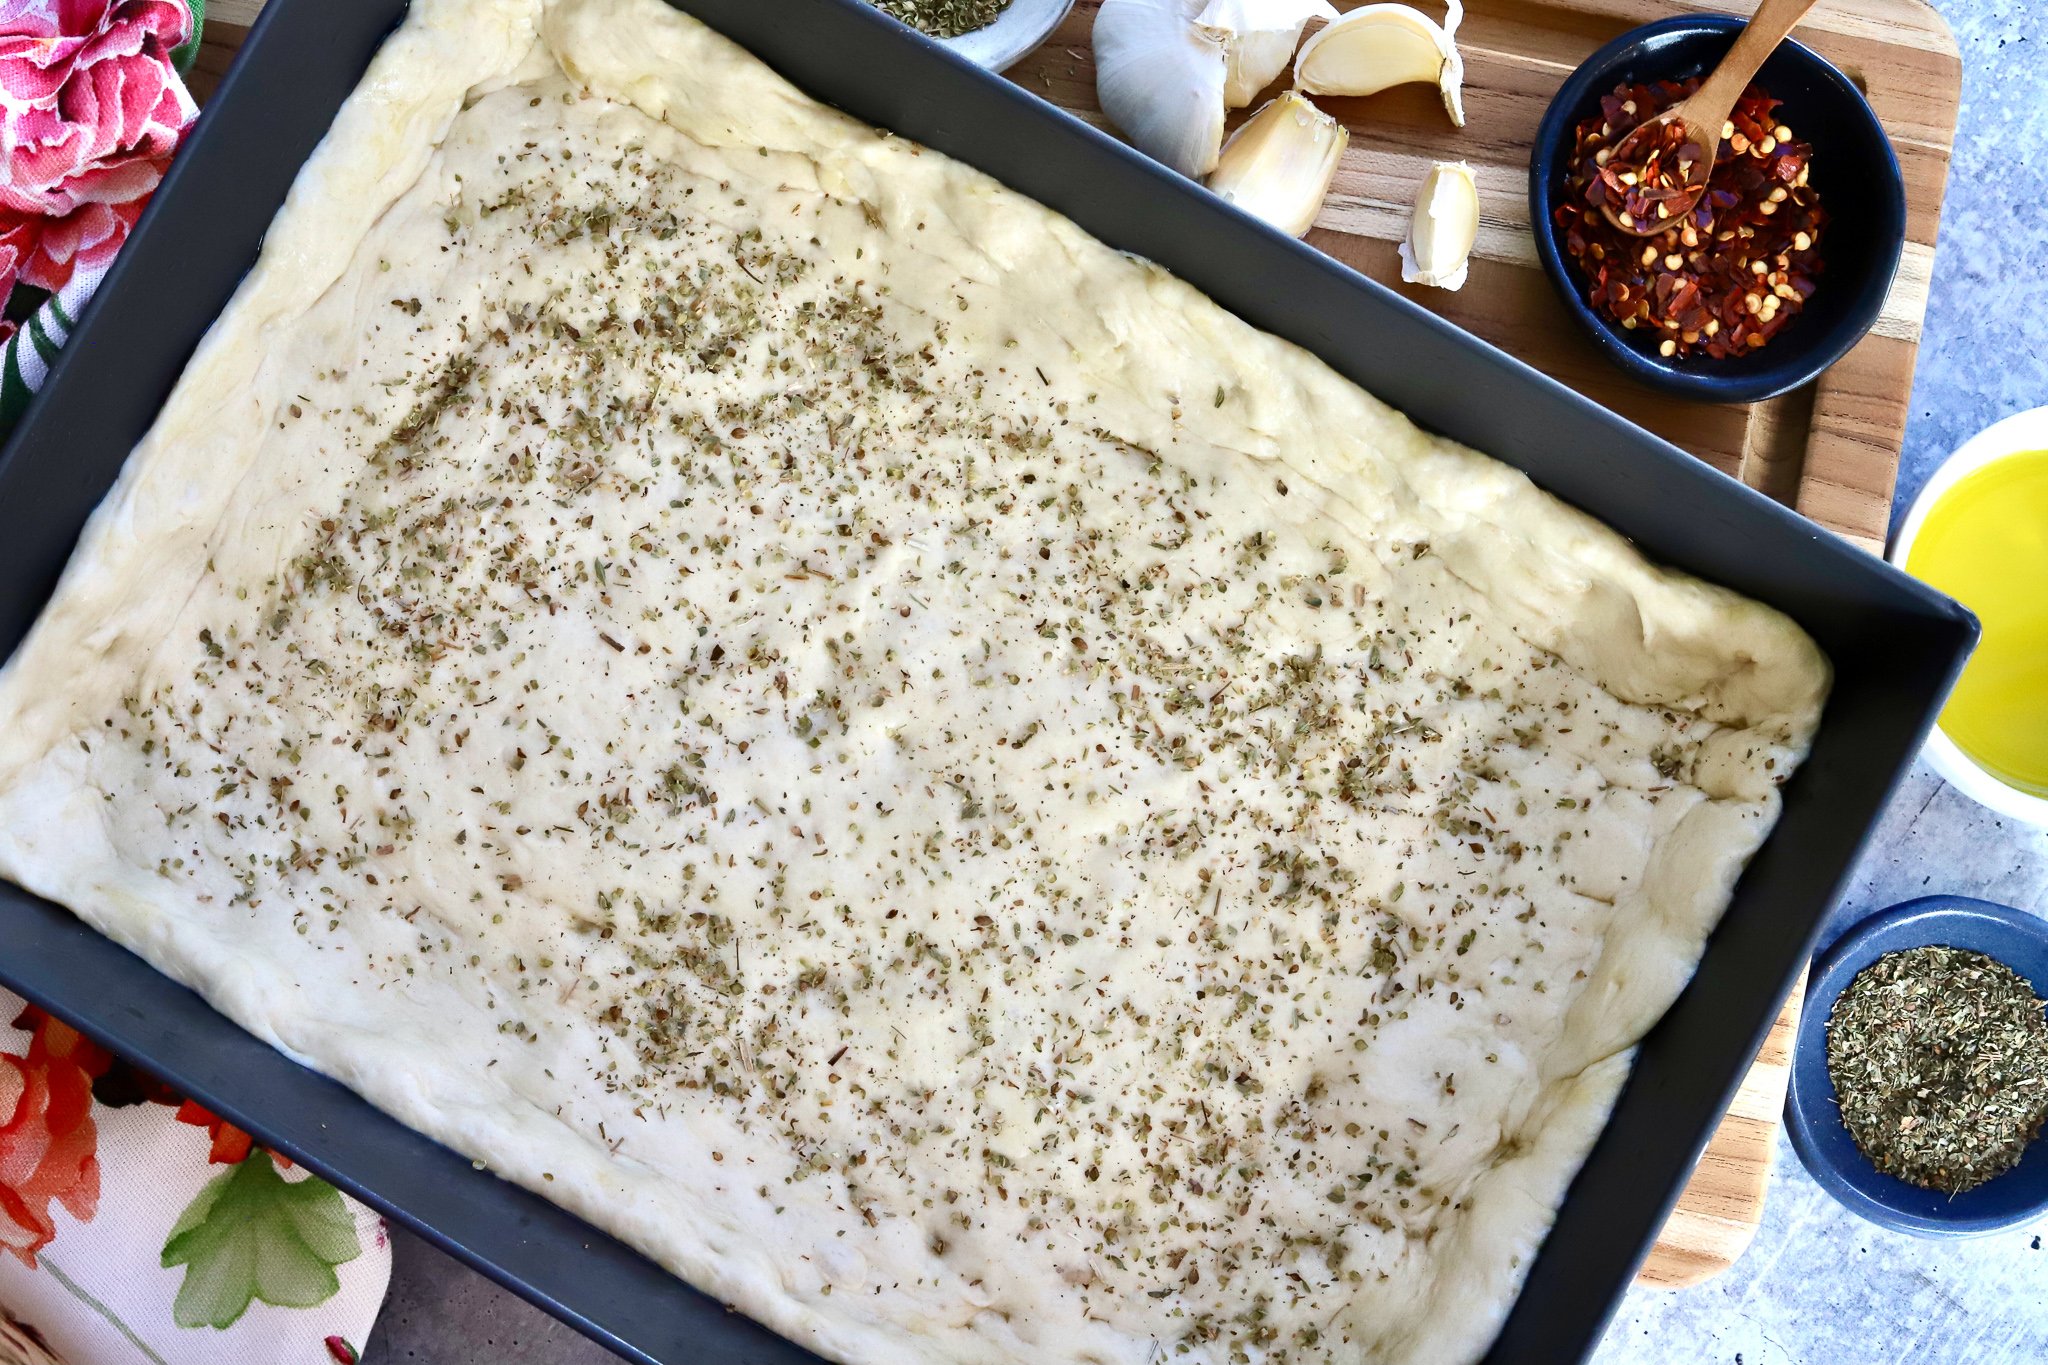
- Once the dough has risen, rub the interior of your baking pan with olive oil to help prevent sticking. With well oiled hands, press the dough evenly throughout, making sure that the dough goes up the sides at least a half-inch. Add a sprinkle of dried oregano to the crust before piling on the rest of the ingredients. Trust me, it tastes glorious.
- This recipe calls for pepperoni, cheese and this No-Cook Pizza Sauce. However, feel free to customize the toppings to whatever you enjoy most! Mushrooms, olives, sausage and ham are all good choices!
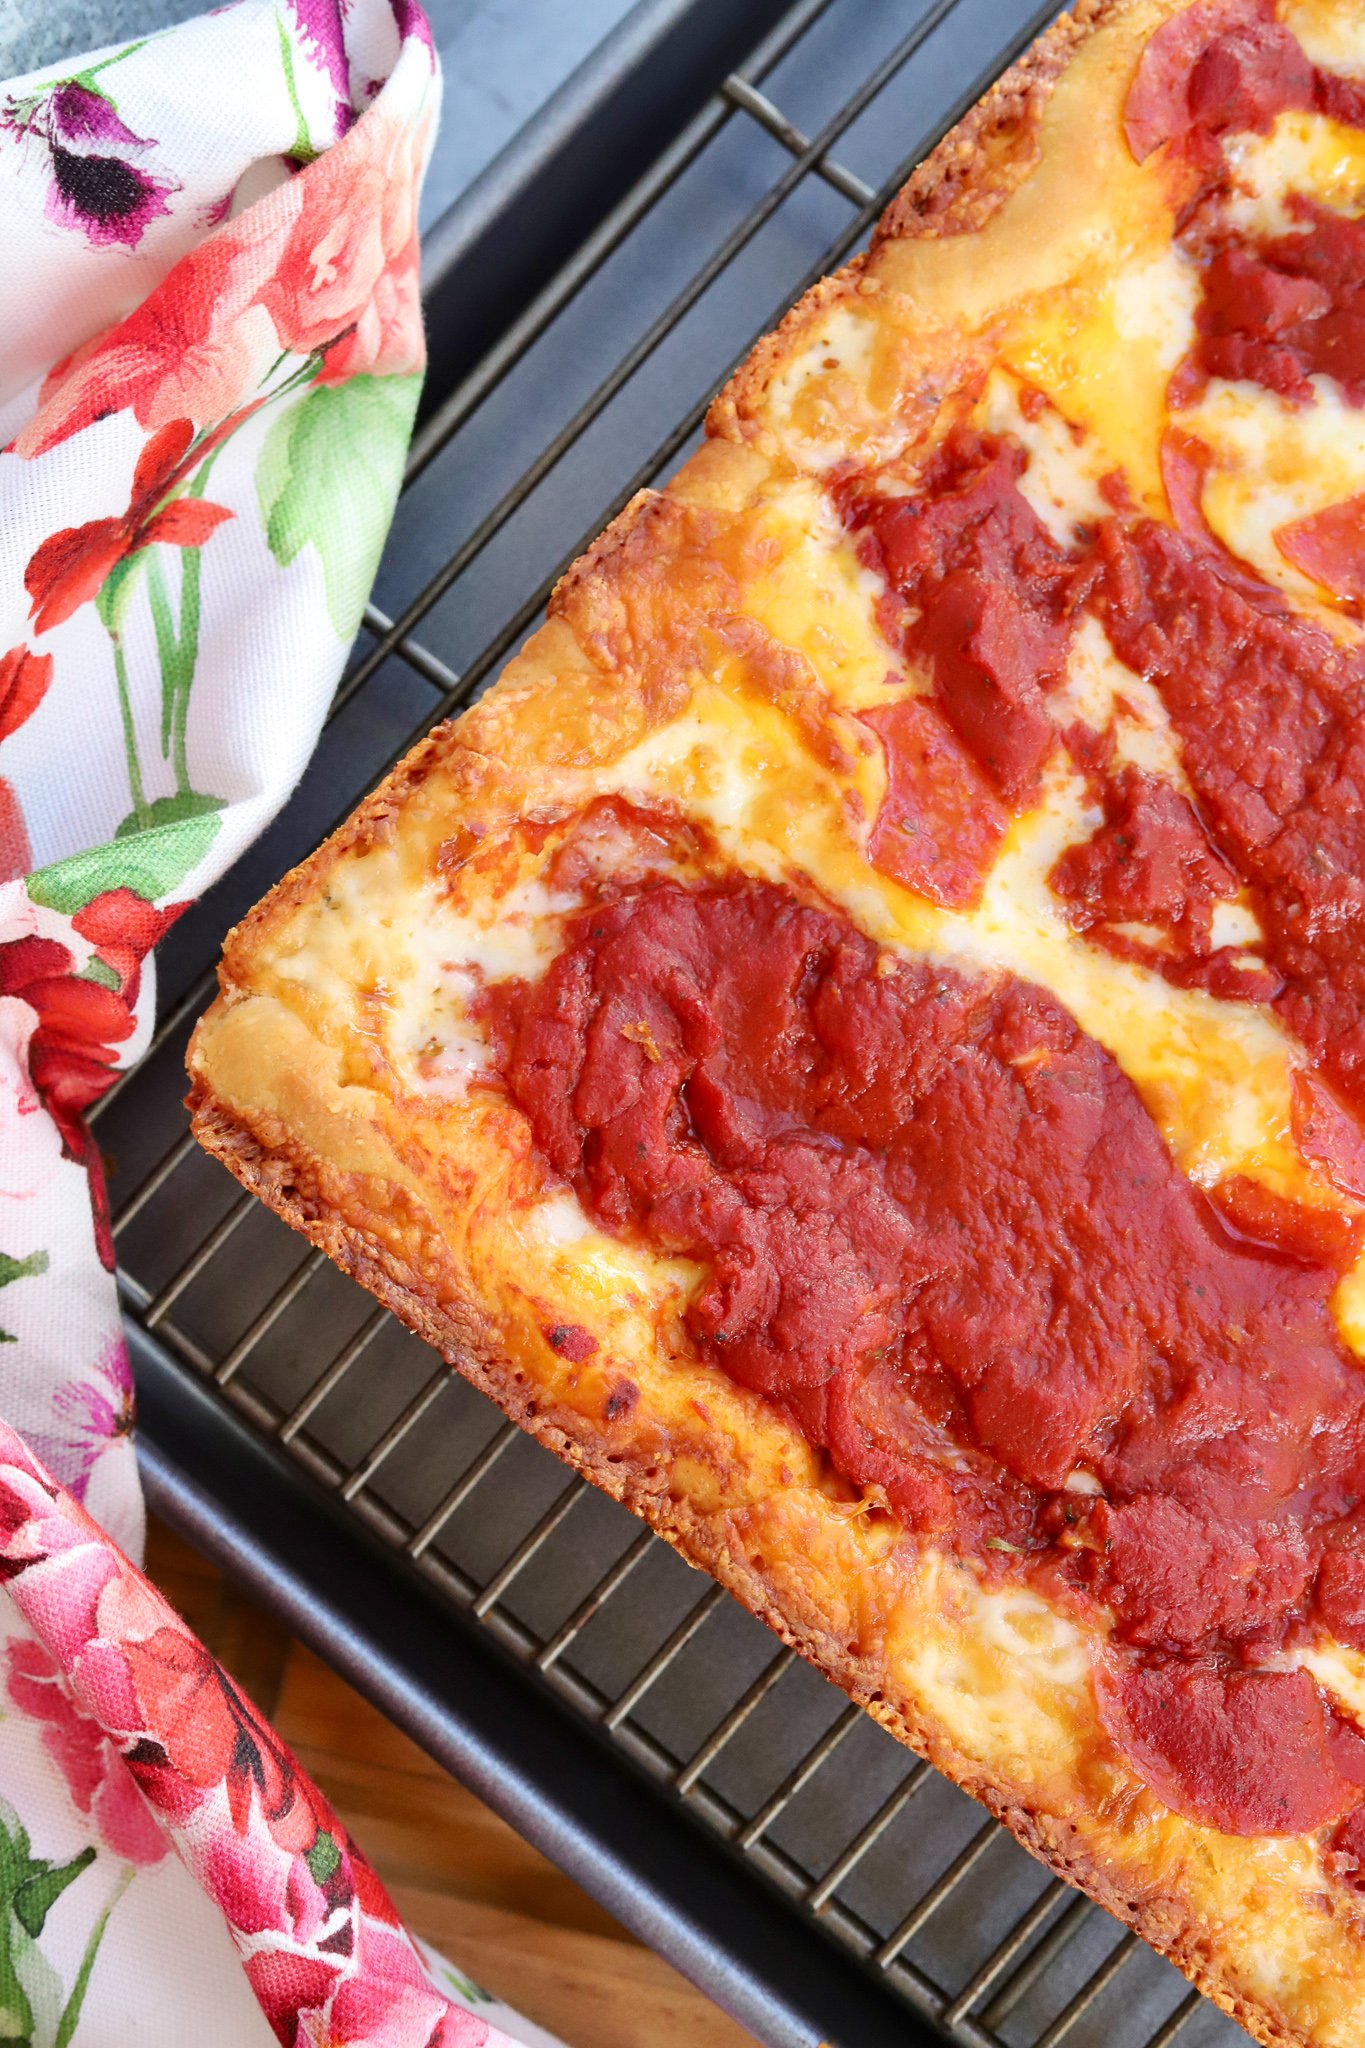
- To ensure you get that incredibly addicting, cheesy, crusty exterior, make sure your cheese goes all the way to the edges prior to cooking. I like to use a mix of Monterey Jack and mild cheddar. I buy them in block-form and cut them into tiny squares. Trust me, the squares do something magical in the oven and it just tastes better. I promise.
HOW TO ASSEMBLE:
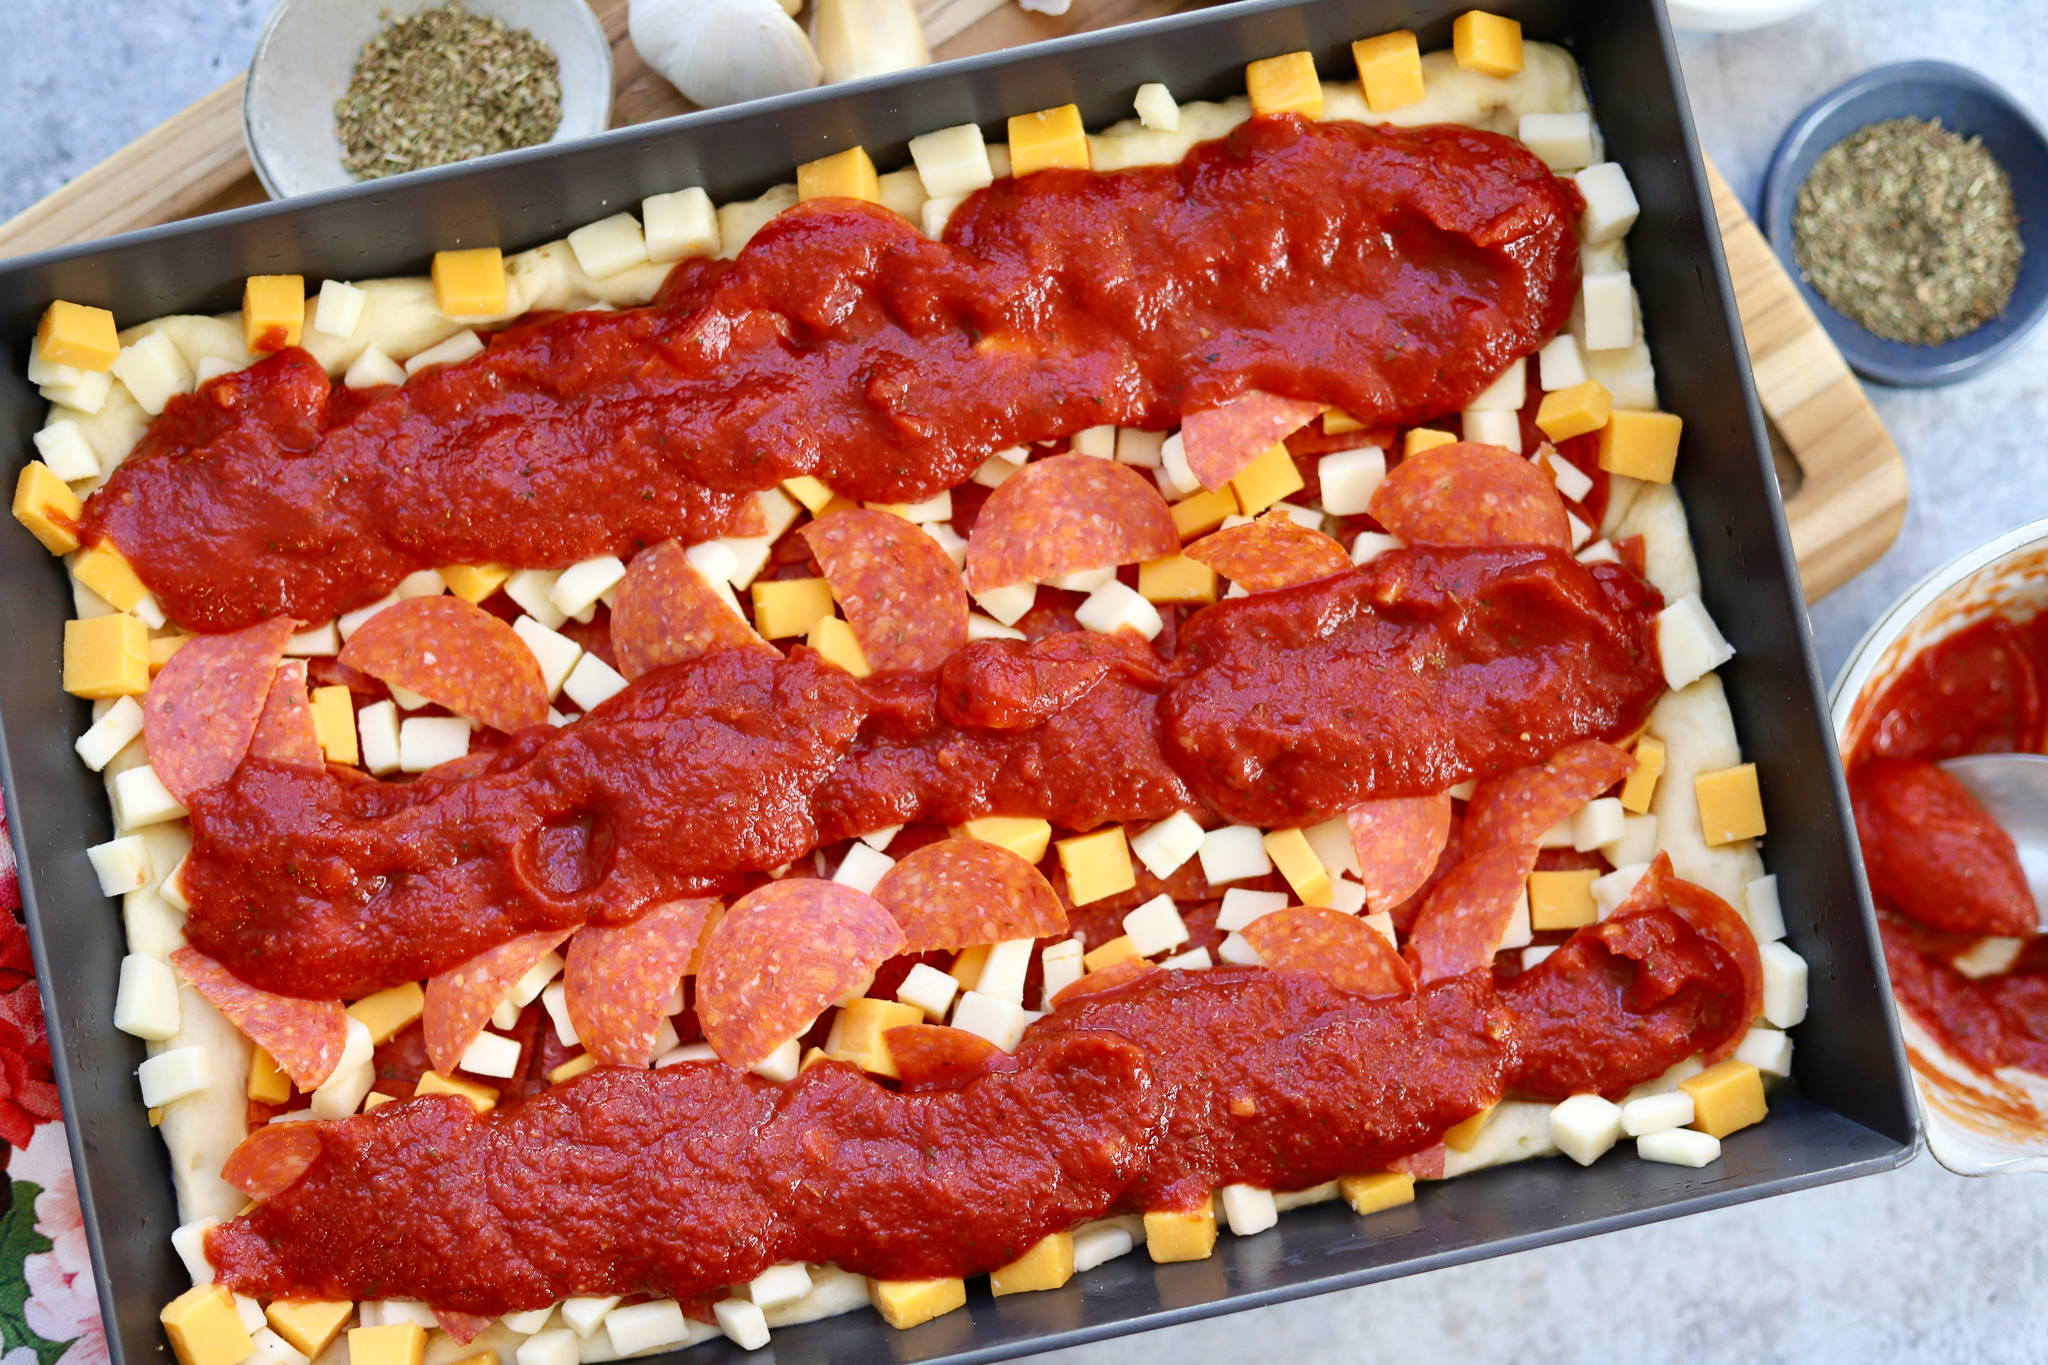
STEP 1: Press the dough into the Detroit-Style Pizza Pan. Don’t forget the sprinkle of oregano!
STEP 2: Add a thick layer of pepperoni (or whatever toppings you prefer).

STEP 3: Here comes the cheese squares! Sprinkle them evenly throughout and up on the edges of the crust.
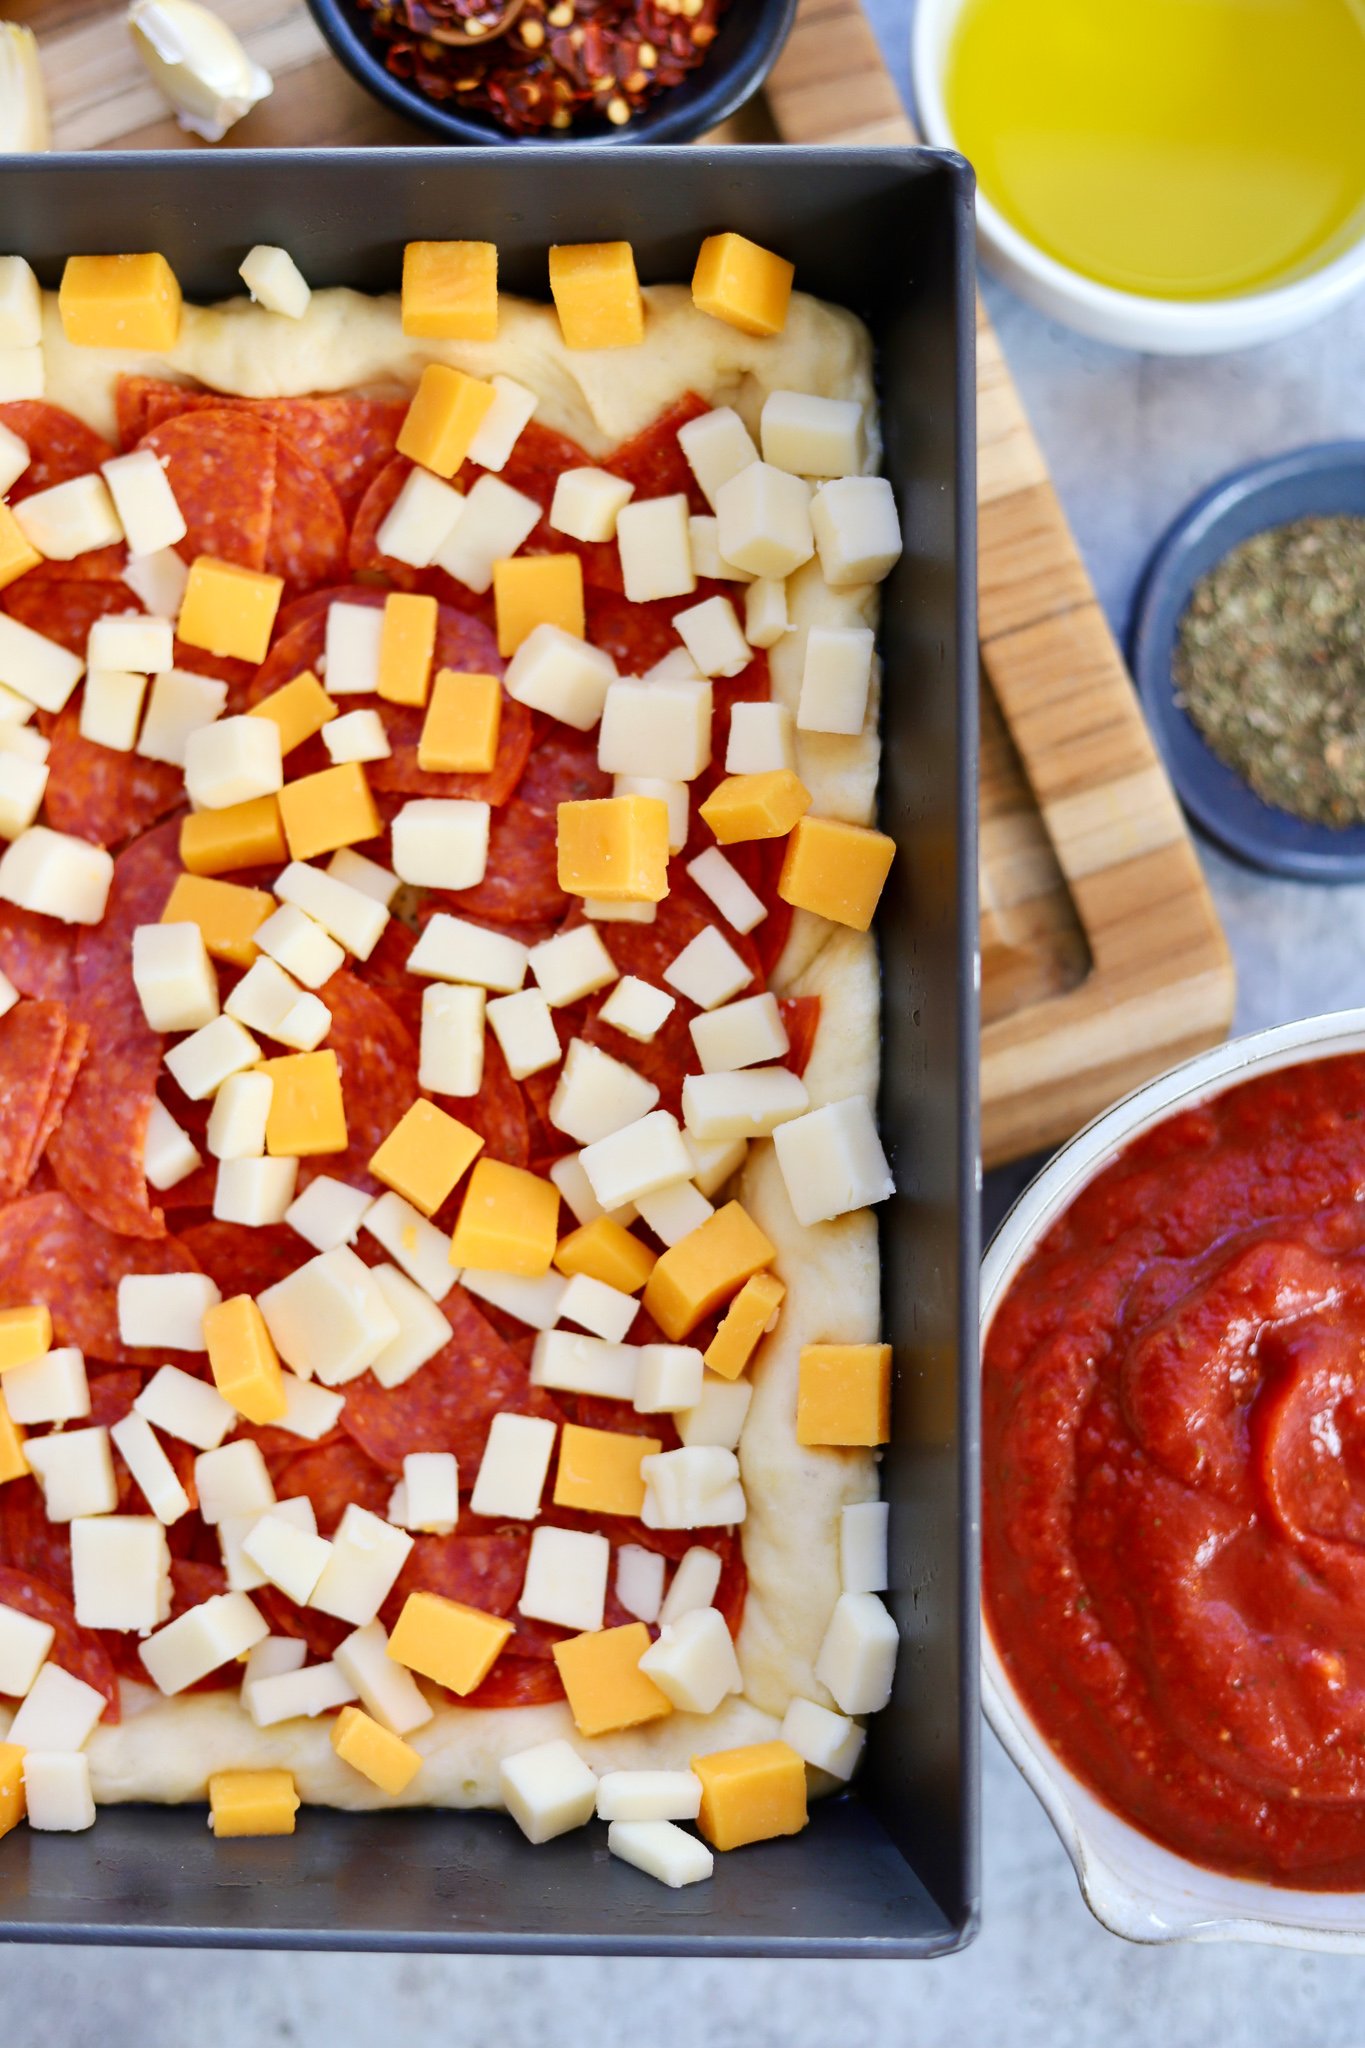
STEP 4: Top with the pizza sauce! I like to pour three strips, allowing the toppings to pop through in the middle sections.
STEP 5: Crank up your oven to 550F and bake until golden brown. About 15 – 20 minutes. Sprinkle with fresh herbs and pepper flakes before cutting into squares.
OTHER RECIPES YOU MIGHT ENJOY:
How To Make Air Fryer Chicken Wings
My Grandma’s Super Easy Recipe for Bierocks
Crispy Cheesy Dill Pickle Chips
BROWSE ALL RECIPES BY CLICKING HERE
- 1 cup Warm Water
- .25 oz Package Active Dry Yeast
- 1 tsp. White Sugar
- 2 tsp. Olive Oil
- 1 tsp. Kosher Salt
- 2.5 cups Bread Flour
- Olive Oil, as needed
- 1 tsp. Dried Oregano
- 8oz. Monterey Jack
- 8oz. Mild Cheddar
- 6oz. Pepperoni Slices
- 3 cups Pizza Sauce
- Fresh Italian Parsley, for garnish
- Red Pepper Flakes, for garnish
- Set out a large bowl and pour the warm water inside. Stir in yeast, sugar and gently stir to dissolve. Add the olive oil, salt and bread flour. Stir until dough forms and allow it to relax for 15 minutes. Turn dough onto the countertop and knead for 5 minutes, forming a ball.
- Pour some oil in the bottom of the Detroit-style pizza pan. Place the dough on top of the olive oil and cover with a kitchen towel. Set aside on the countertop for 1 hour. The dough will increase in size.
- When you're ready to assemble, preheat the oven to 550F.
- Cut the cheeses into squares and set aside. Rub some olive oil on your fingertips and press down on the dough, spreading evenly to the edges. Make sure to press the dough up a half-inch around all the edges and remove any air bubbles.
- Layer with pepperoni, cheese cubes (making sure to add cubes to the top edges of the dough on the sides of the pan) and pour sauce on top in 3 strips. If desired, place another layer of pepperoni on top with the sauce.
- Bake for 15 - 20 minutes, or until golden brown.
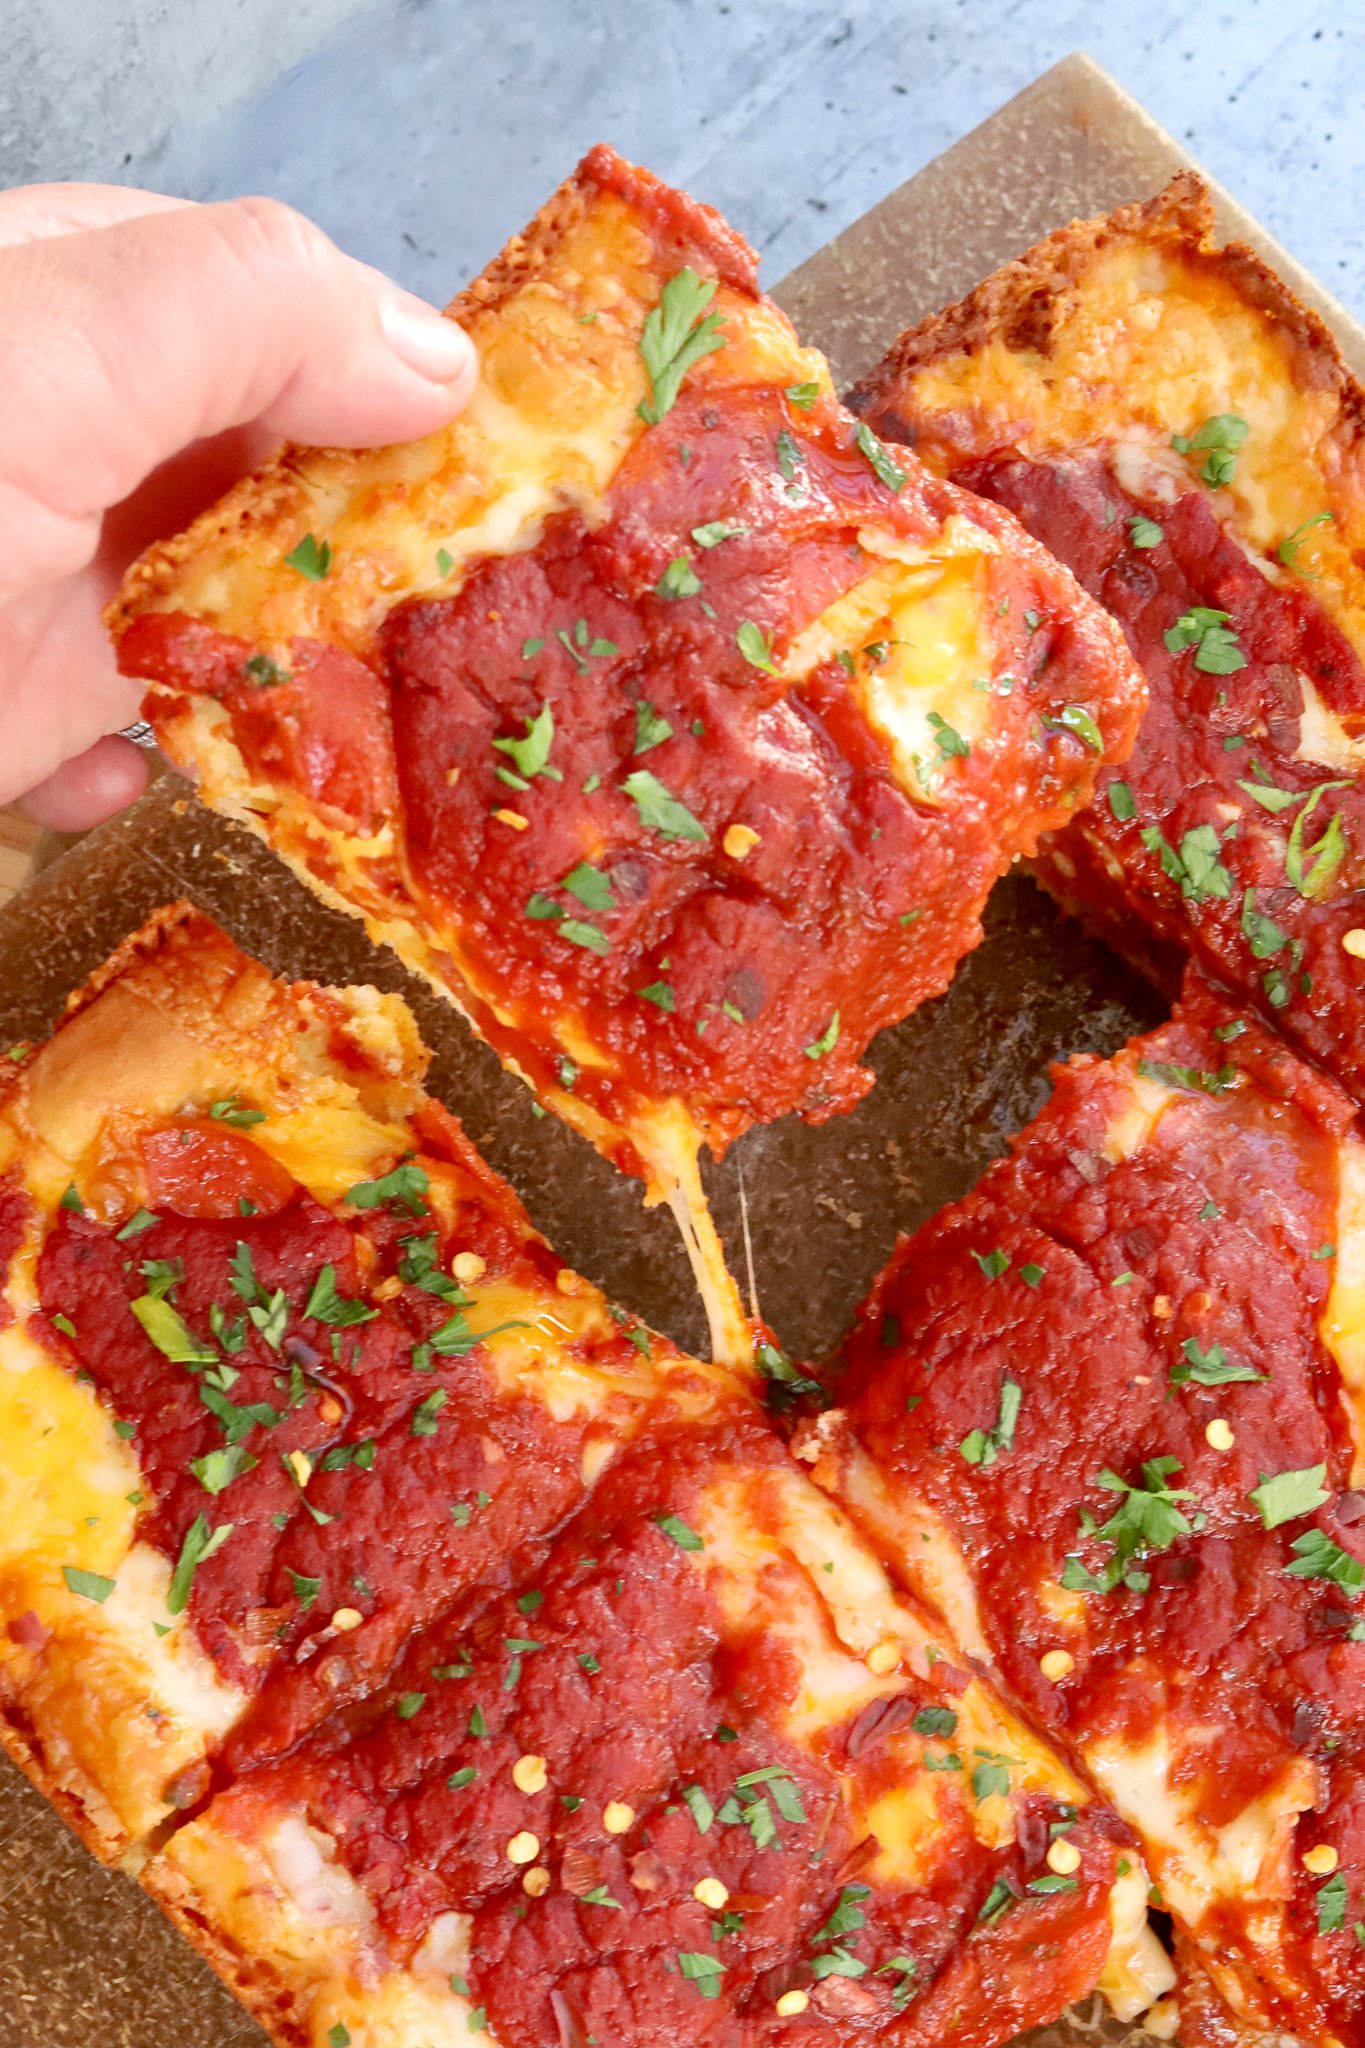
- Allow the pizza to cool for a few minutes and then carefully slide the pizza onto a cutting board with a spatula. Cut into squares and enjoy immediately with red pepper flakes and freshly chopped Italian parsley.
NOTES ON THIS RECIPE:
- I personally like to cut my pepperoni slices in half, creating a half moon shape. Not sure why, I just prefer it that way. I guess I’m a bit weird. 😉
- You can certainly use store-bought pizza sauce if you don’t have the ingredients on hand to make this homemade version. Go ahead and use whatever your little heart desires.
- Not a spicy fan? No problem. Simply limit or omit the pepper flake garnish. And yes, I grew up in California so more often then not I’ll serve this with ranch or Greek yogurt for dipping (which helps tone down the heat… yikes, don’t hate me).
- Store leftovers, covered and refrigerated. Enjoy within 2 – 3 days.
PIN THIS FOR LATER:


My family has been trying multiple recipes for Detroit pizza and we loved yours! I did make one change which was more about what my family likes and subbed in some mozzarella cheese with a colby jack blend. Super yummy! I did have one question for you. Which rack do you typically cook the pizza? Varying recipes say oven floor or middle rack. Curious what your preference is and what’s best for this recipe.
I have a double oven and cook mine in the top one with just one rack. I’d say I’d recommend the middle rack for a normal oven. Or possibly cook in the middle rack for 75% of the time and then switch it to the top rack to create a crust the remaining amount of time. Have you tried multiple racks in yours? Which one did you prefer? Glad you and your family love the recipe like we do!